Step 1- Install the Conversios plugin #
1. Log in to your WordPress backend and go to plugins.
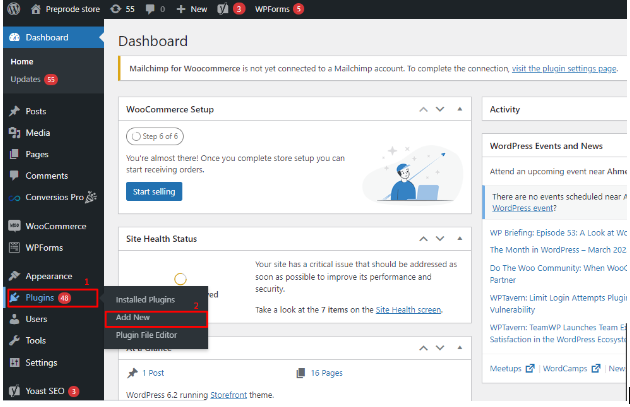
2. Go to ‘Add new’ & search for ‘Conversios’.
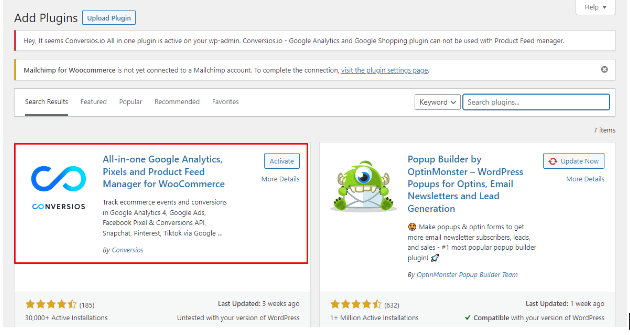
3. Install & activate the ‘All-in-one Google Analytics, Pixels & Product Feed Manager For WooCommerce’ plugin as shown in above screenshot.
Step 2- Create Snapchat pixel from Snapchat Business Manager #
If you already created a pixel, directly follow step 3. If you are yet to create a Snapchat pixel; step 2 will make your task easier.
1. Create & log in to your Snapchat business manager account.
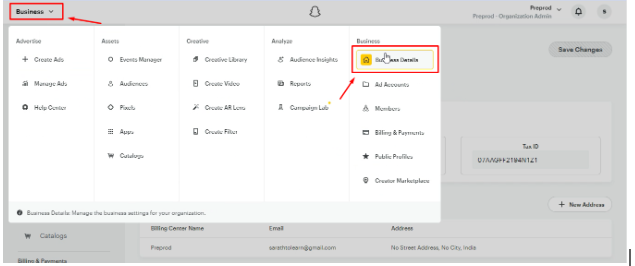
2. Now navigate to the ‘Business’ & then click on ‘Business details’.
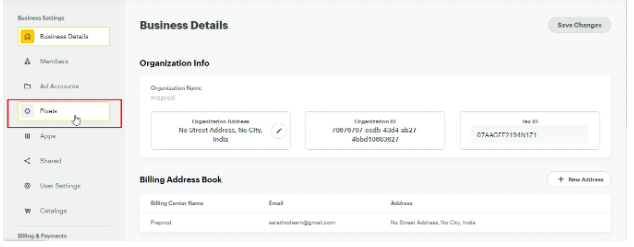
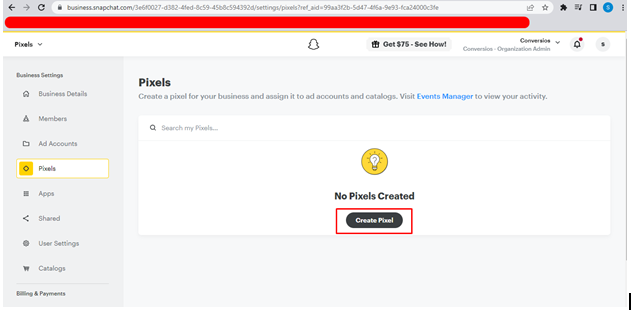
3. You will find the ‘Pixels’ under the assets, click on it.
4. Now select ‘Create Pixel’.
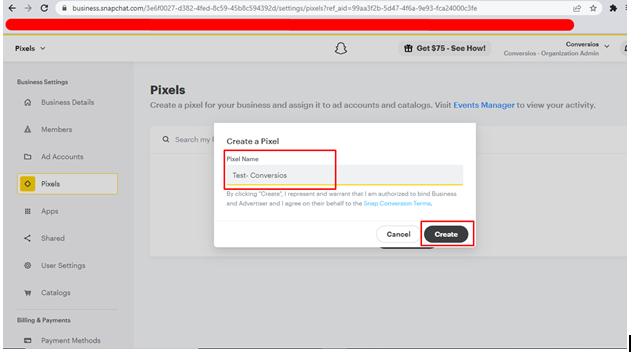
5. Give a name to your pixel & continue by clicking on ‘Create’.
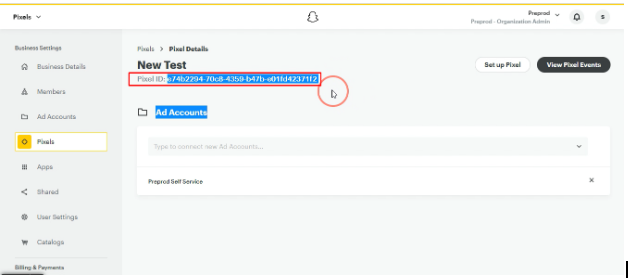
6. Once you have created a pixel, you will find an interface. It has your Snapchat pixel ID. Just copy the ID.
Step 3- Integrate the Snapchat Pixel ID to Conversios Plugin #
The final step is to come to your Conversios plugin dashboard, where you can find the ‘Snapchat Pixel ID’ section in ‘Pixel Settings’, just paste the ID here and save .
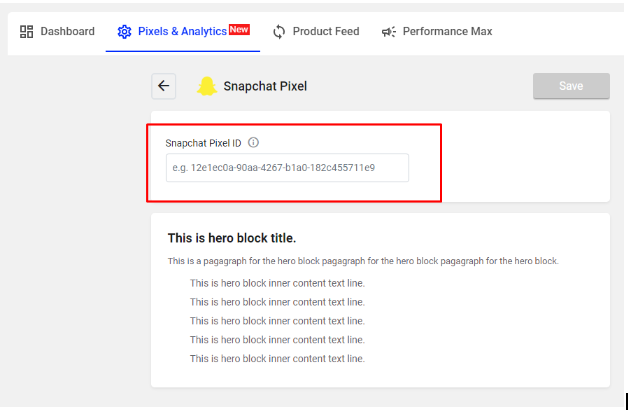
Congratulations, you have successfully created and integrated your Snapchat Pixel using Conversios plugin. Tracking important metrics and optimizing your advertisement campaigns becomes easier.