Table of Contents
Filtering your product lists ensures your product feed is optimized for better ad performance and compliance.
Follow these steps to apply filters using the Conversios Plugin.
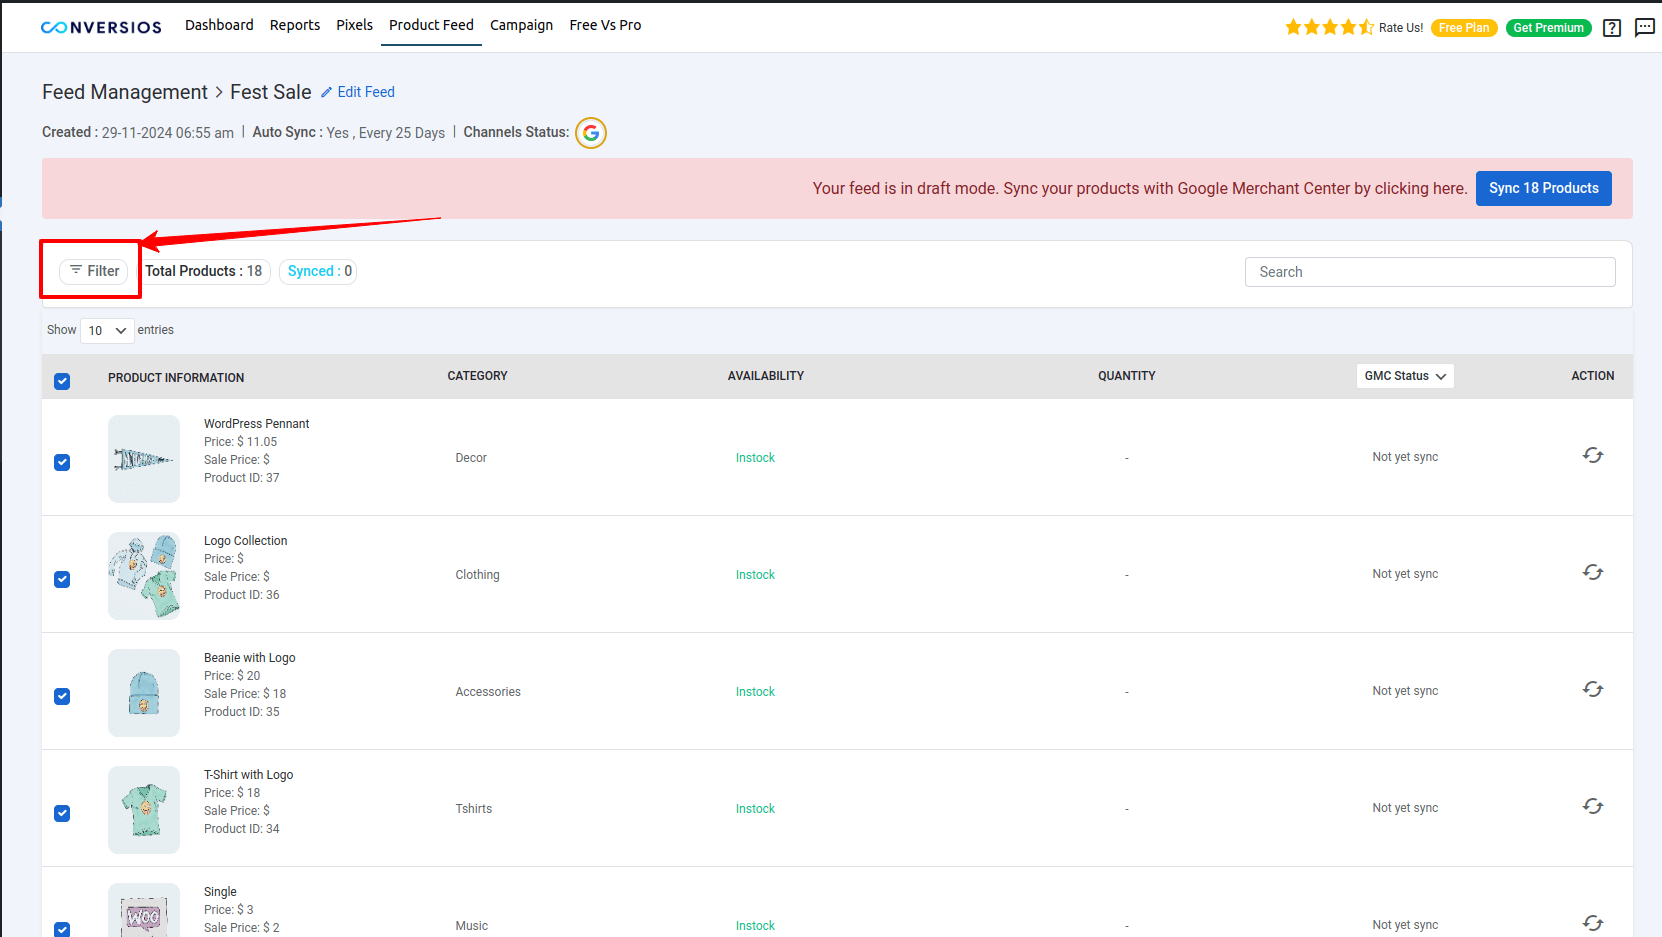
Step 1: Access the Product Feed Section #
- Log in to your Conversios Plugin dashboard.
- Go to the Product Feeds section.
- Click Create New Product Feed to start, or select an existing feed to edit.
Step 2: Apply Filters to Customize Your Feed #
Filters allow you to fine-tune your product feed based on campaign needs. Here are the available options:
1. Stock Status #
- Include only In Stock products to display available items in ads.
- Exclude Out of Stock products to avoid customer dissatisfaction.
2. Category #
- Narrow your feed to specific categories relevant to your campaign.
- Example: For holiday promotions, include categories like “Seasonal Offers” or “Gifts”.
3. Price Range #
- Focus on products that fit your pricing strategy.
- Example: Set a price range between $20 and $200 for premium campaigns.
4. Visibility #
- Include only Published products while excluding items marked as Hidden or Draft.
5. SKU #
- Filter products by their unique SKU for precision targeting.
- Example: Include high-demand or exclusive products using their SKUs.

Step 3: Save and Sync Your Feed #
- Save your product feed.
- Sync it with platforms like Google Merchant Center or Facebook Tiktok, Snapchat Catalog.
- Enable auto-sync to ensure updates in your inventory are reflected in real-time.
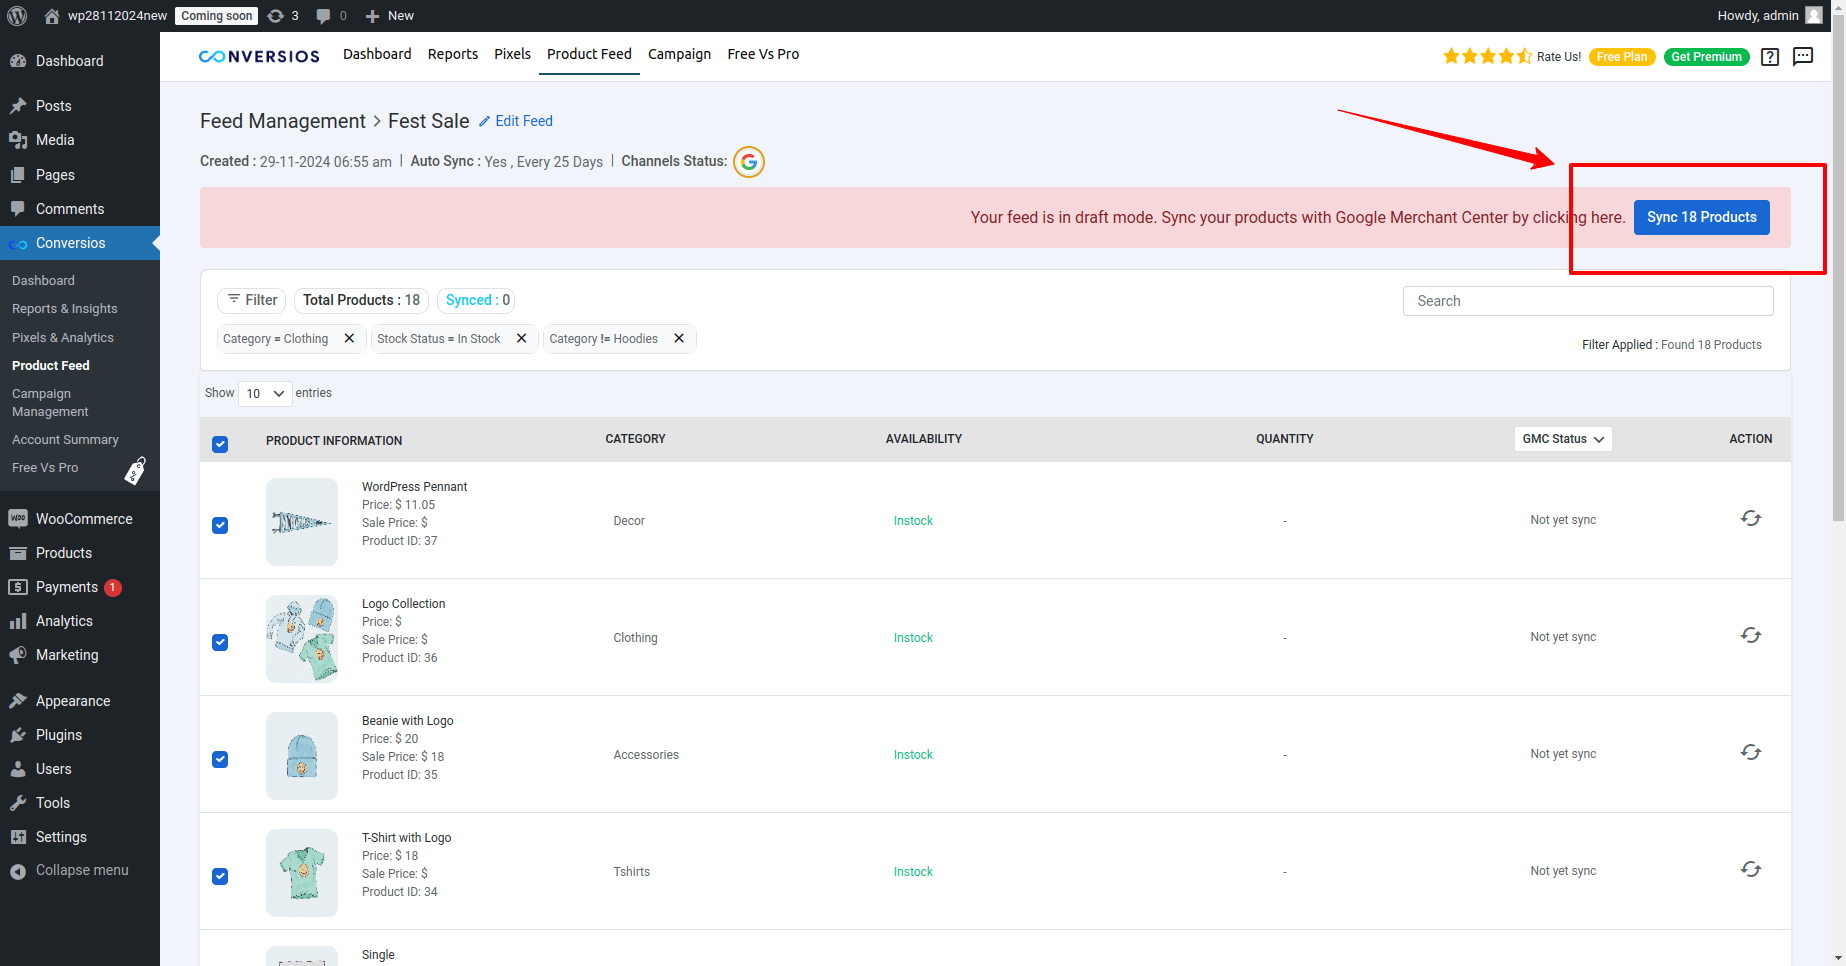
You can select the products even after applying the filters as per your requirement using the left checkbox before syncing the products to the selected Feed channels.
Tips for Using Filters Effectively #
- Combine multiple filters (e.g., Stock Status + Price Range) to refine your feed.
Regularly update your filters to match campaign changes or product availability.
Avoid over-filtering, as it may exclude products unnecessarily.
Need Help? #
For further assistance, visit our documentation or contact our support team.