Conversios is a dynamic WooCommerce plugin that integrates Google Analytics 4 (GA4) and ad channel pixels through Google Tag Manager. It simplifies e-commerce and conversion tracking, supports advanced product feed management, and offers comprehensive e-commerce reporting and AI-generated insights.
Additionally, it includes a Product Feed Manager for WooCommerce, essential for Google Merchant Center, Facebook Catalog, and TikTok Catalog.
Step 1. Logging in to WordPress Backend #
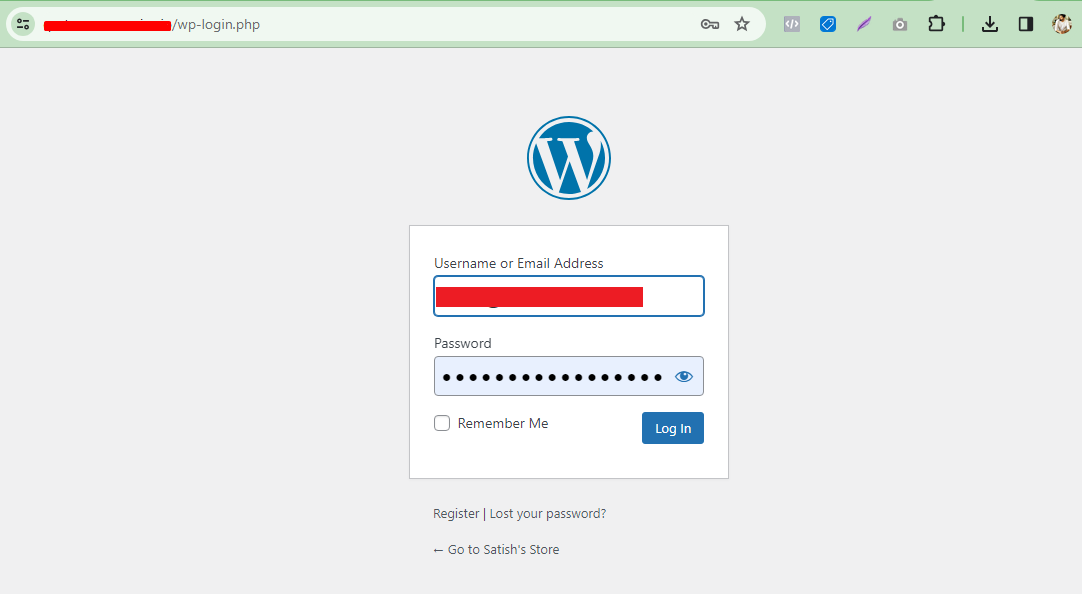
Use your Login credentials to log in to your WordPress Admin
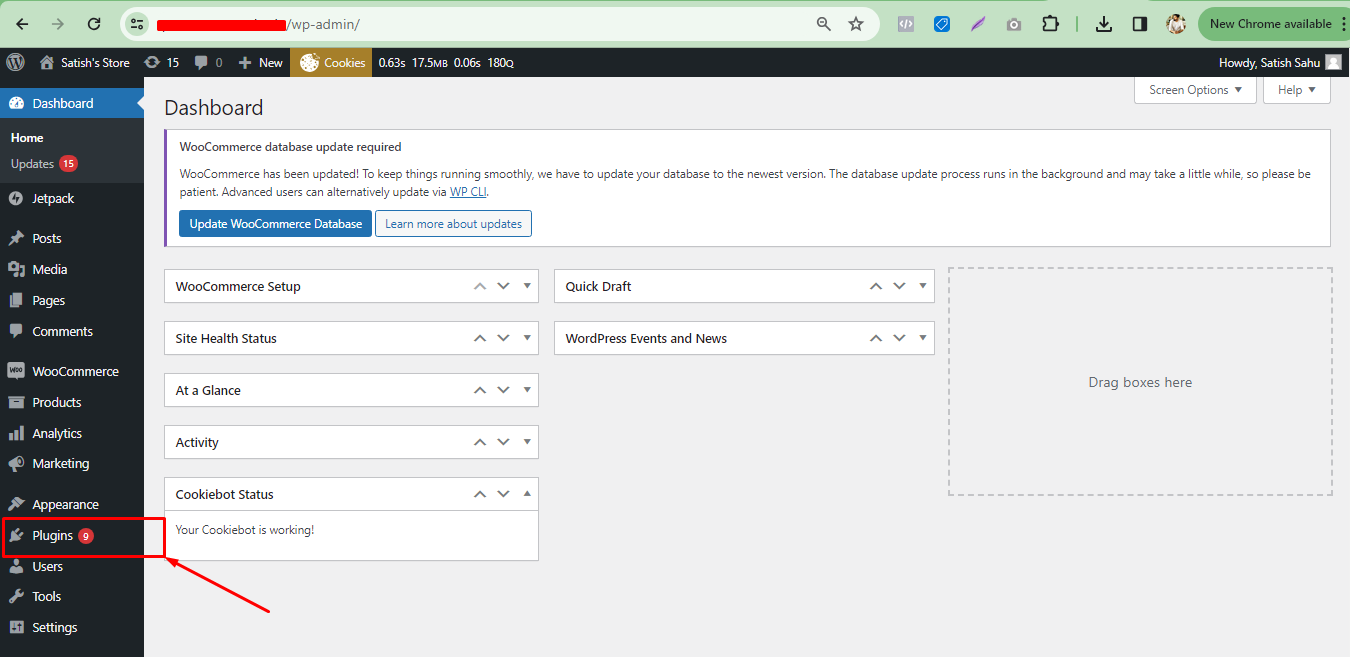
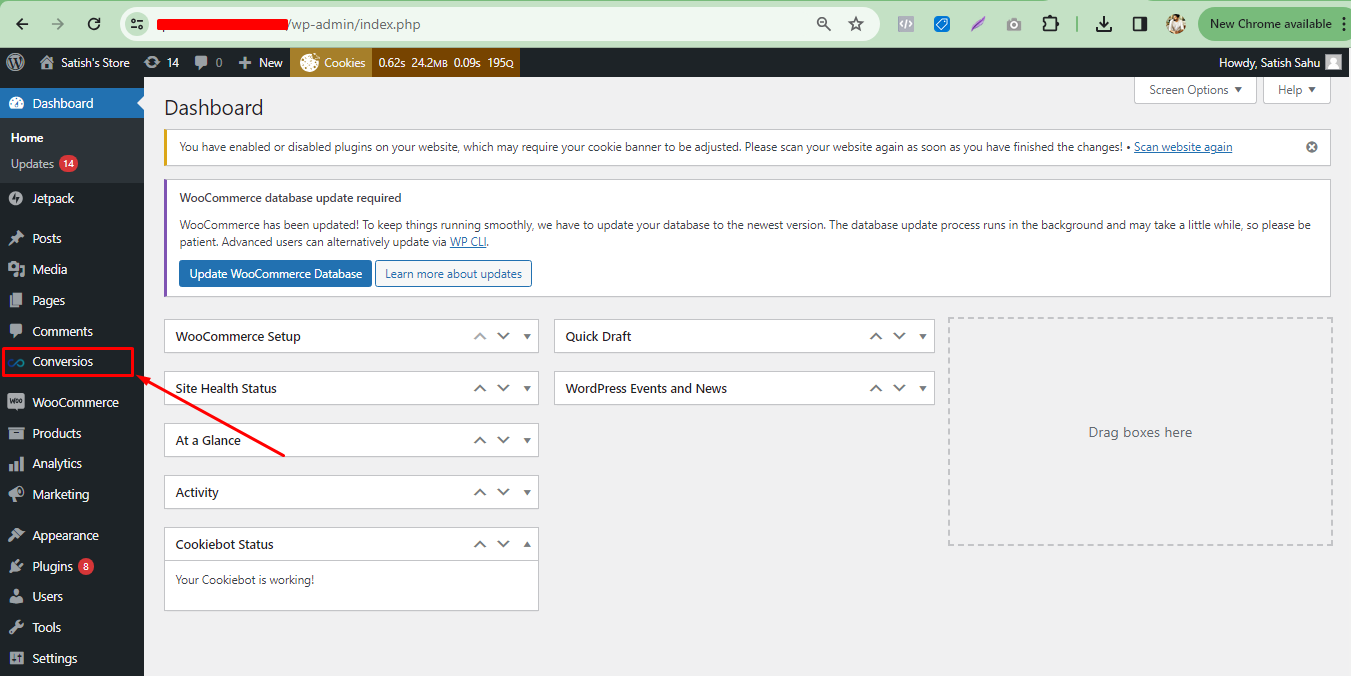
Step 2. Navigating to Plugins #
Once you are logged in to your WordPress Admin, navigate to the sidebar menu options and click on the Plugin section
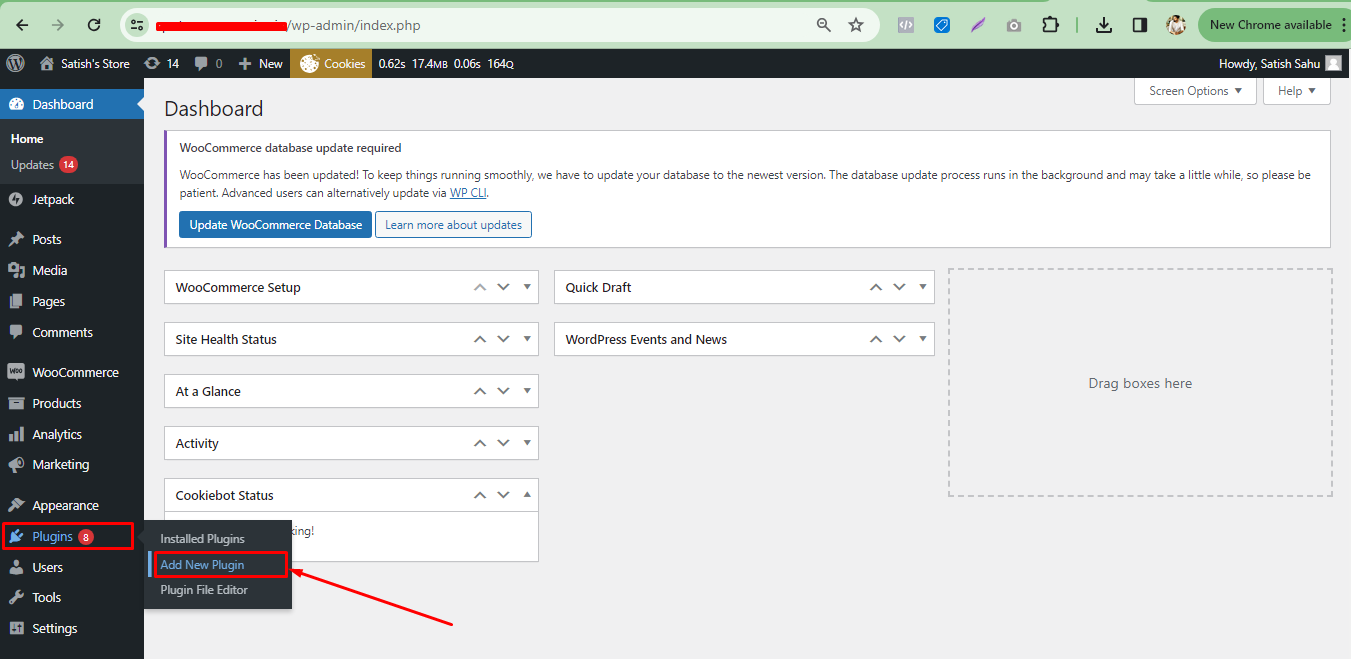
Step 3. Installing Conversios Plugin #
Navigate to Plugins >> Click on Add New Plugins
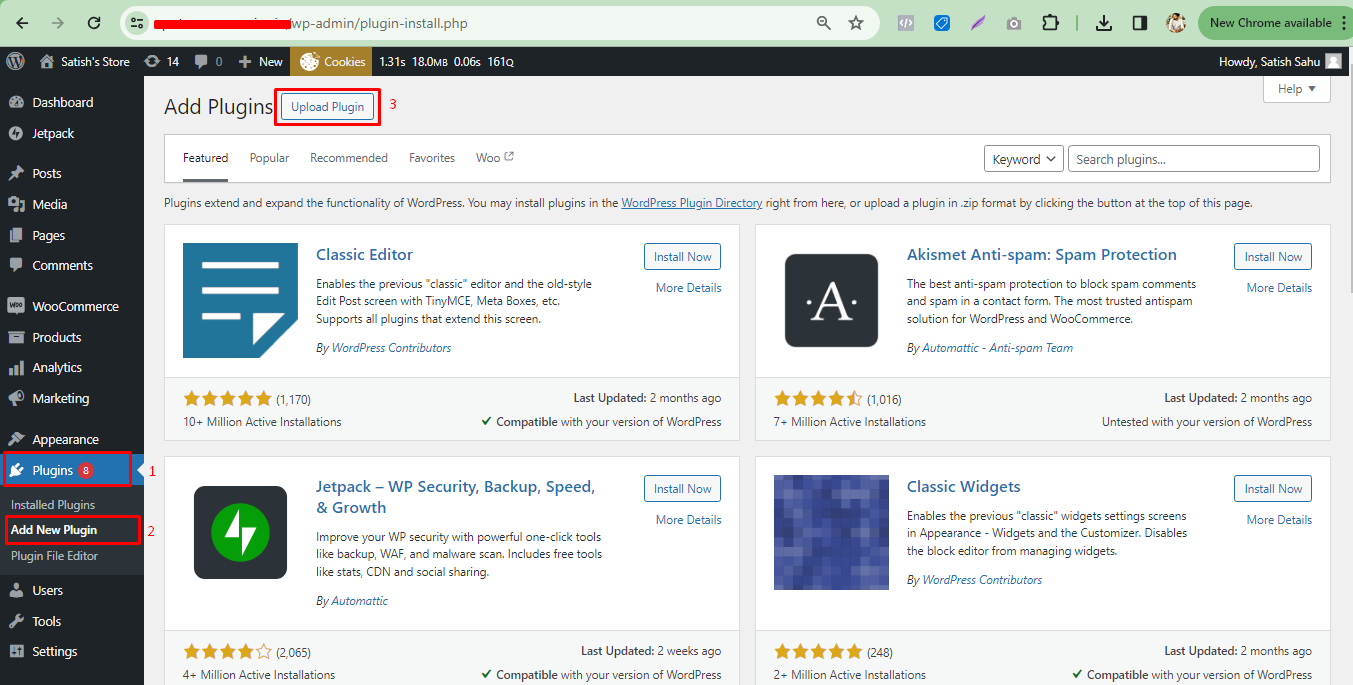
Step 4: Search for Plugin #
- Navigate to the Plugins section and click on Add New Plugins.
- Type Conversios in the search bar.
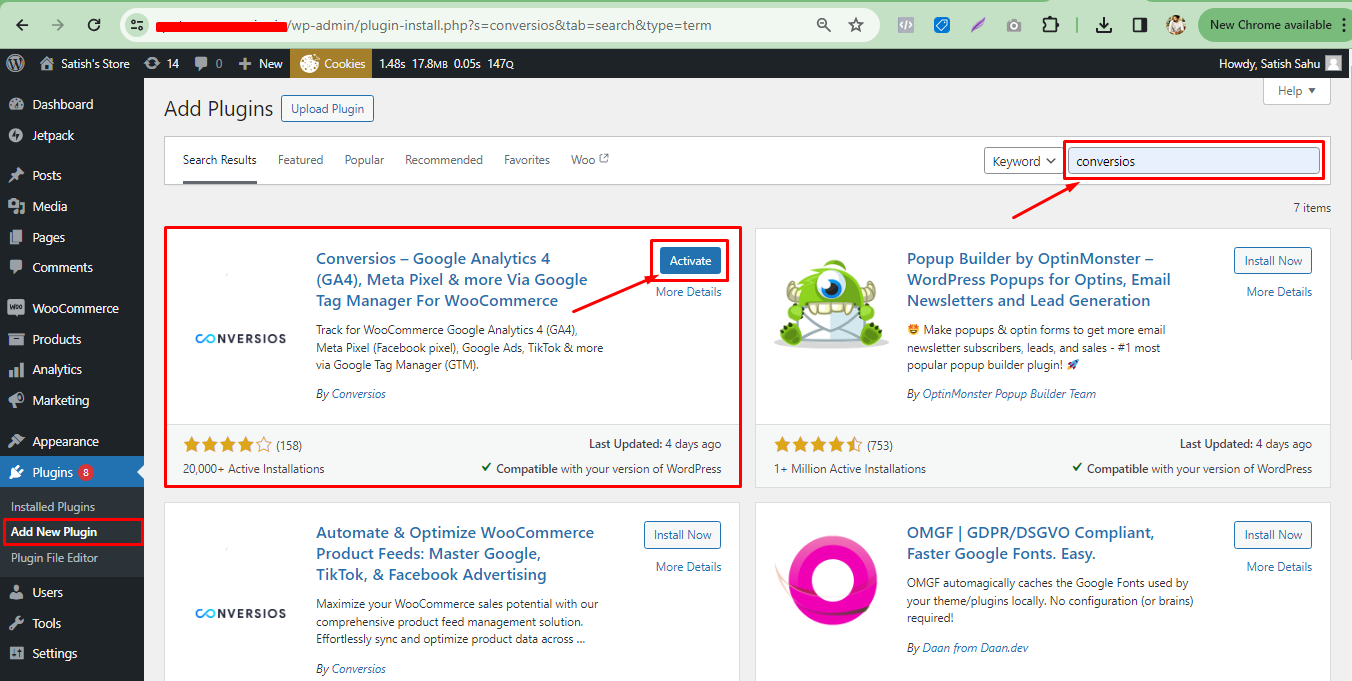
- Find the Conversios plugin in the search results. Click on the Activate button next to it.
- Once activated, you will see Conversios listed in the left sidebar menu options.
Alternatively, Installing via Manual Upload (For Pro Customers) #
- Follow steps 1-3 to log in to your WordPress Admin.
- Go to the Plugin section and click on Add New.
- Select Upload Plugin.
- Click on Choose File and upload the Plugin Zip file downloaded from your Order Confirmation email.
- Enter the License Key provided in your Order Confirmation email.
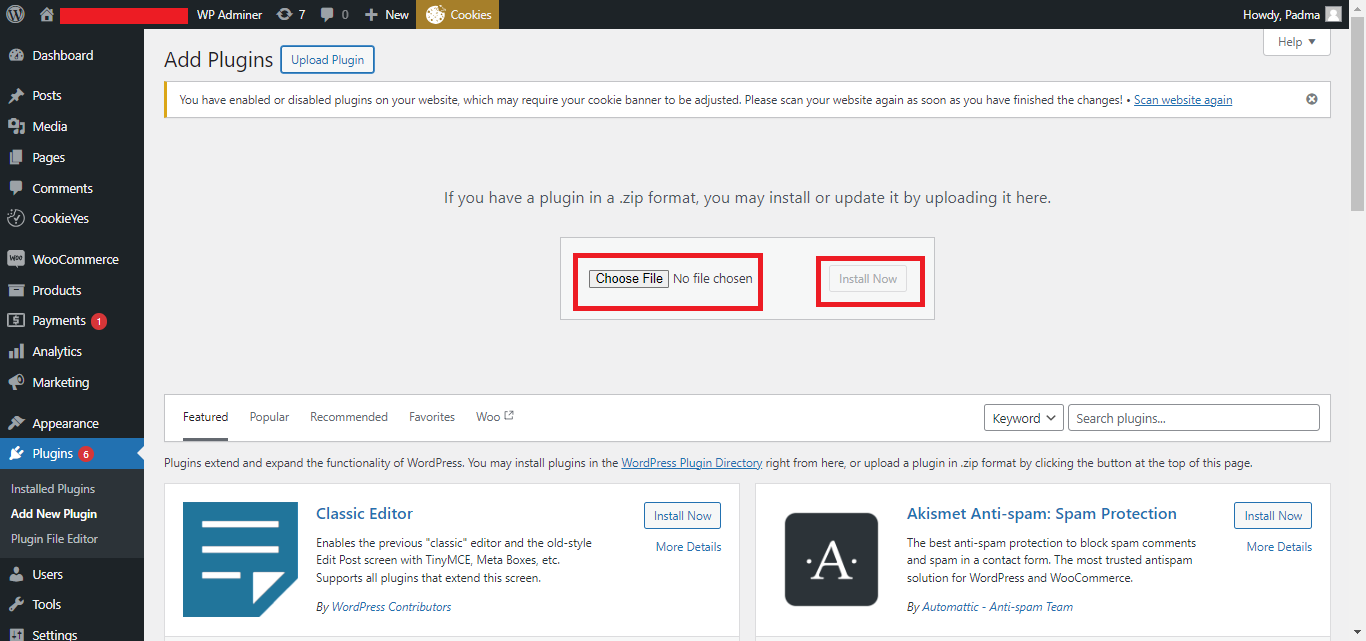
- Click on Install Now.
- After installation, click on the Activate Plugin button.
After completing these steps, you will see the Conversios Pro plugin installed in your WordPress admin.
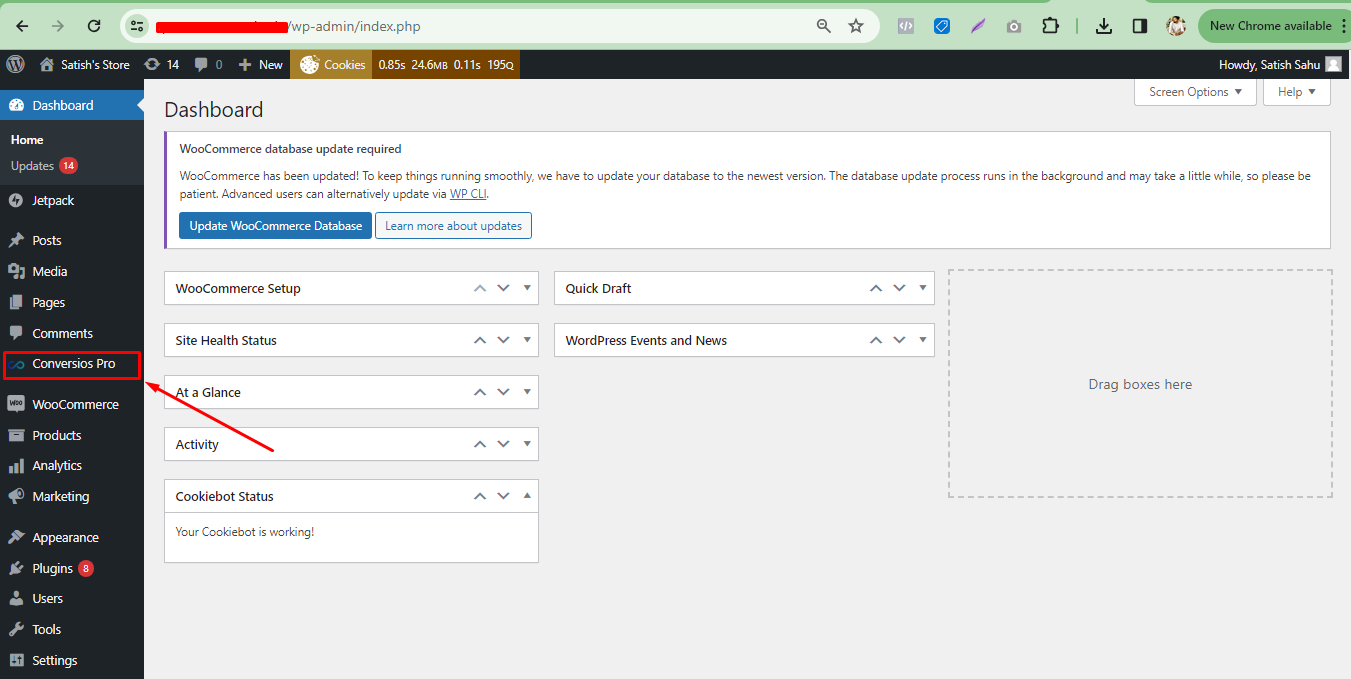
Congratulations! 🎉
You have successfully installed and activated the Conversios plugin or the All-in-one Google Analytics, Pixels, and Product Feed Manager for WooCommerce plugin on your WordPress website.
You can then configure and use the plugin according to its documentation.