To set up the Crazy Egg Pixel from the Crazy Egg Business Manager, follow these steps:
Step 1. Create or log in to your Crazy Egg account at crazyegg.com.
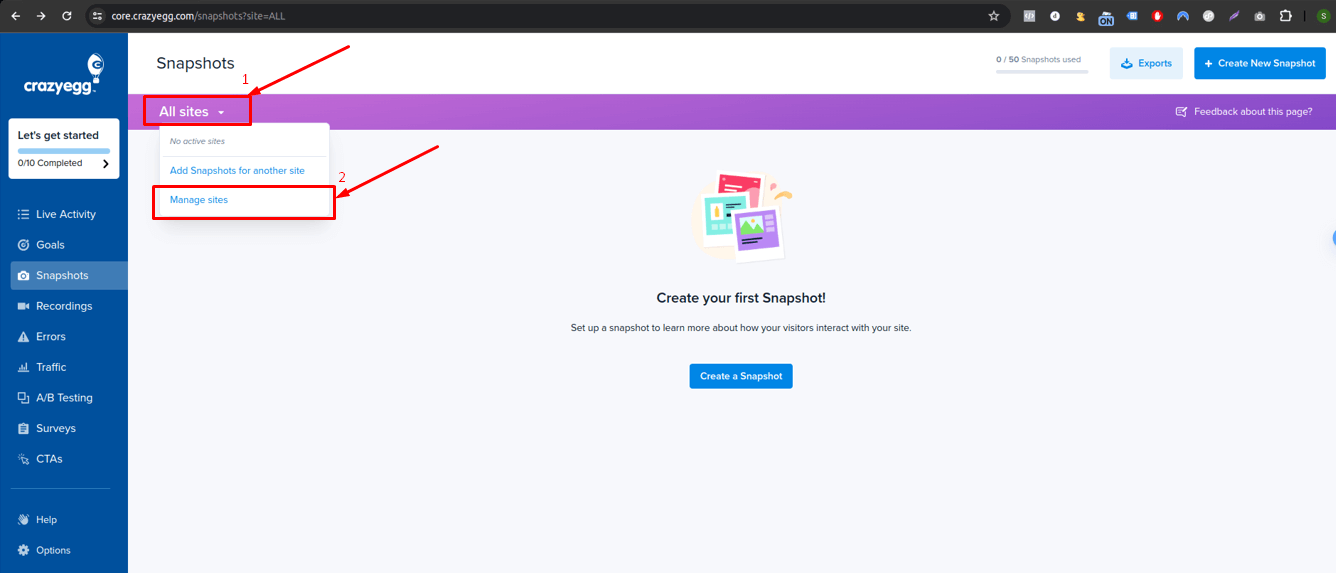
Step 2. Click on “All sites” and then “Manage site”.
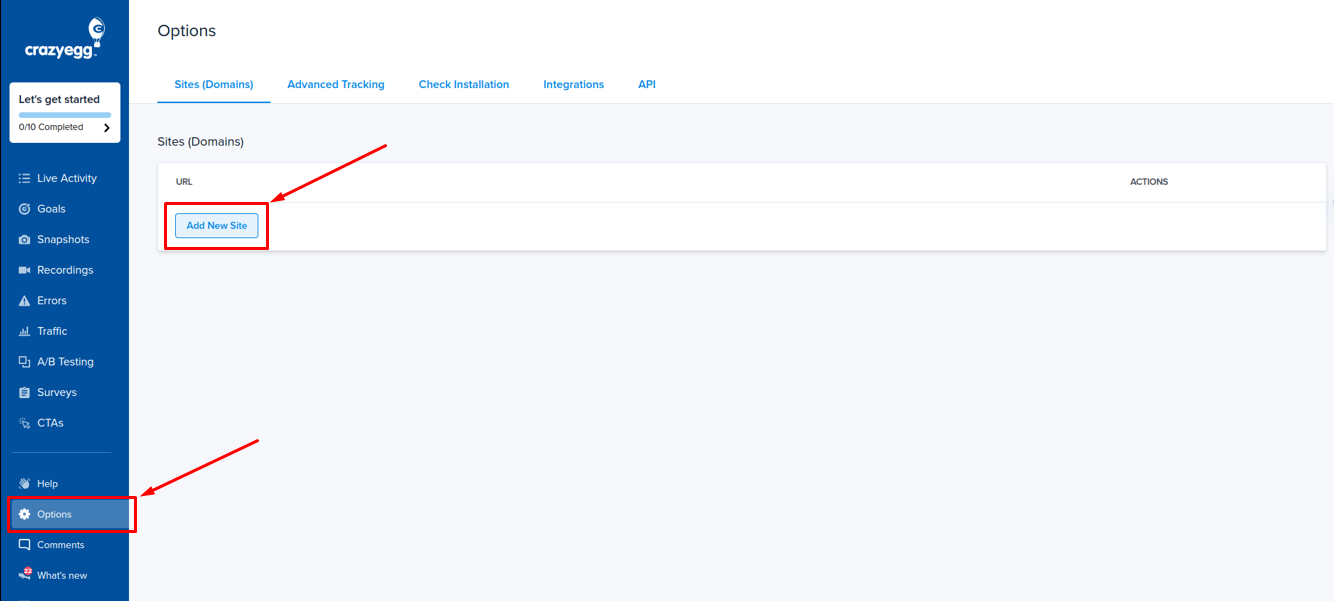
Step 3. Look for the ‘option icon’ on the bottom left and click on ‘Add New Site’.
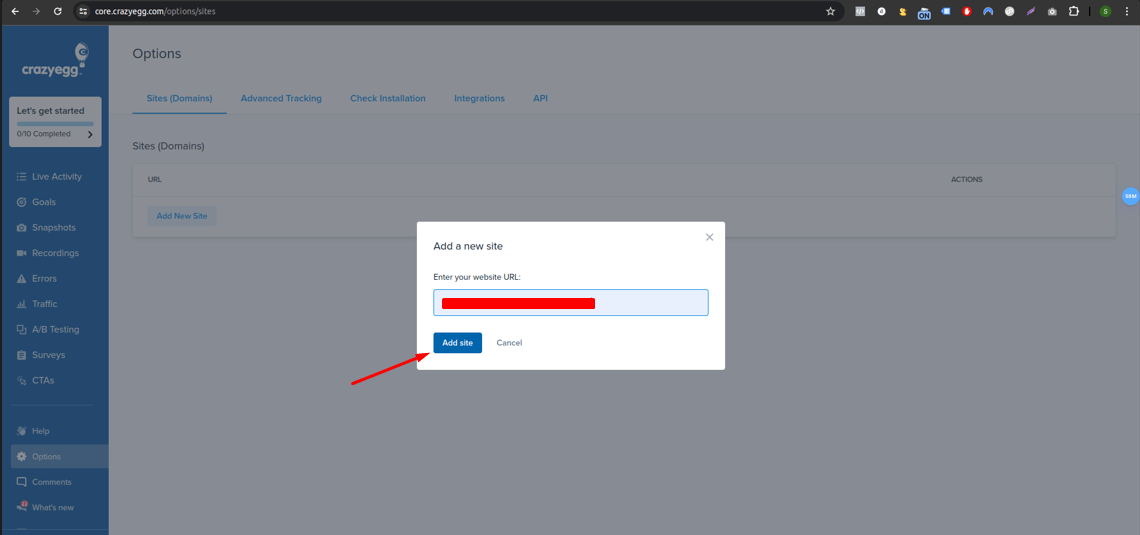
Step 4. After clicking on “Add New Site”, a model will appear where you can enter your website URL.
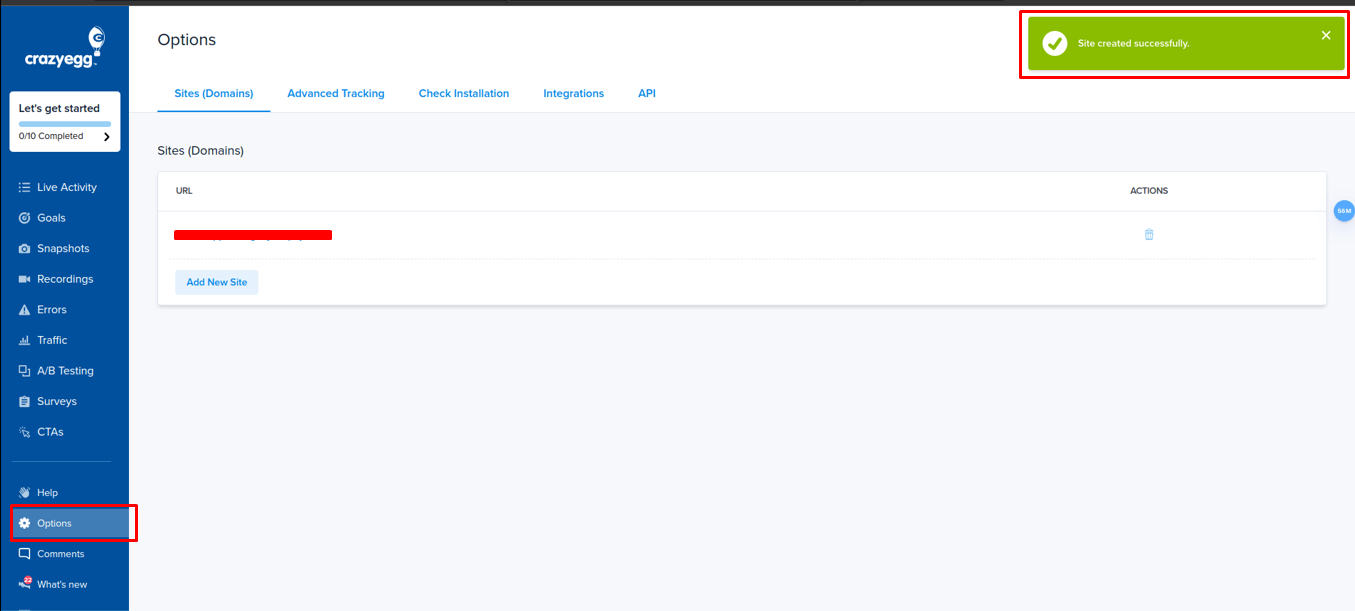
Step 5. After ‘Adding your Site’ and you will receive a message confirming the successful creation of your site.
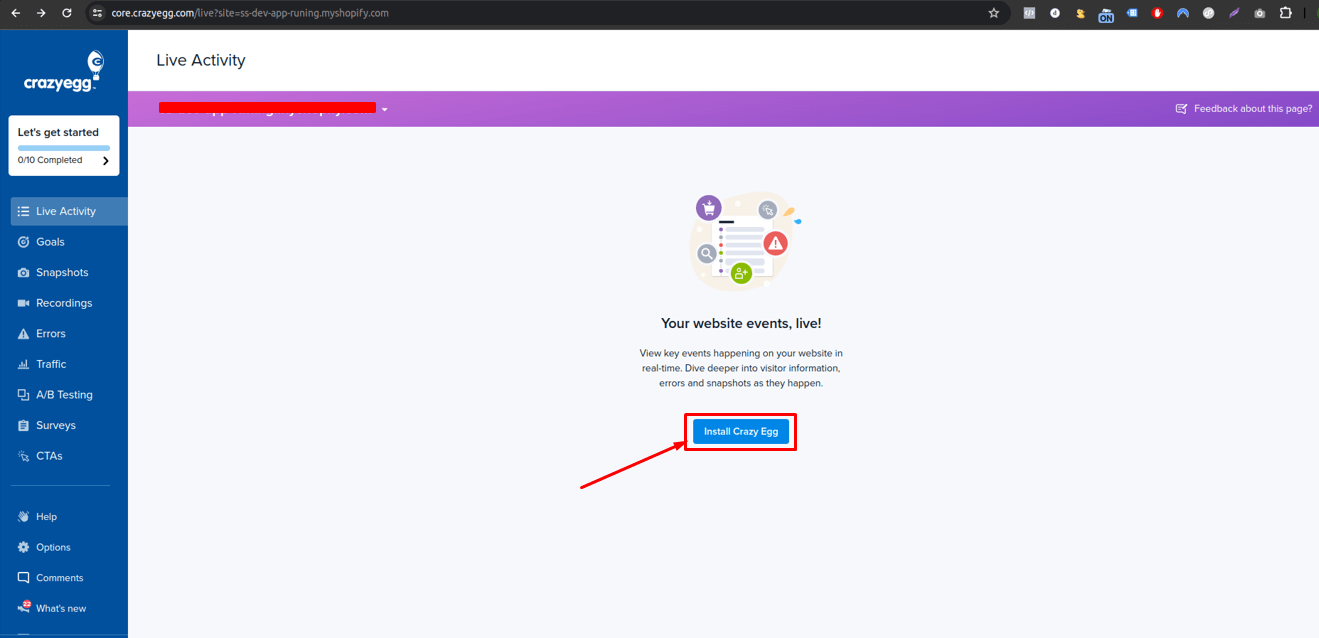
Step 6. Once your site is successfully added, you will see your website event is live. Click on the “Install Crazyegg” button.
Step 7. You can find the Crazy Egg pixel ID from the snippet. Click on the “I can install the tracking script myself”.
Step 8. In the script, you can find the Crazy Egg pixel ID. Now, copy the Crazy Egg pixel ID. In code snippets like //script.crazyegg.com/pages/scripts/, you can see the number ID. You need to copy the account ID and remove the “/” from the string. For example, “01xx/xx47” should be changed to “01xxxx47”.
You have successfully found Crazyegg Pixel ID. Now you can integrate the Pixel ID with the Conversios WordPress Plugin, and Shopify App that you are using for tracking.