Let’s see how you can integrate your Pinterest Pixel with Conversios Plugin Step-by-Step:
To integrate Pinterest pixel in the Conversios plugin, kindly extract Pixel ID from your Pinterest Business Account.
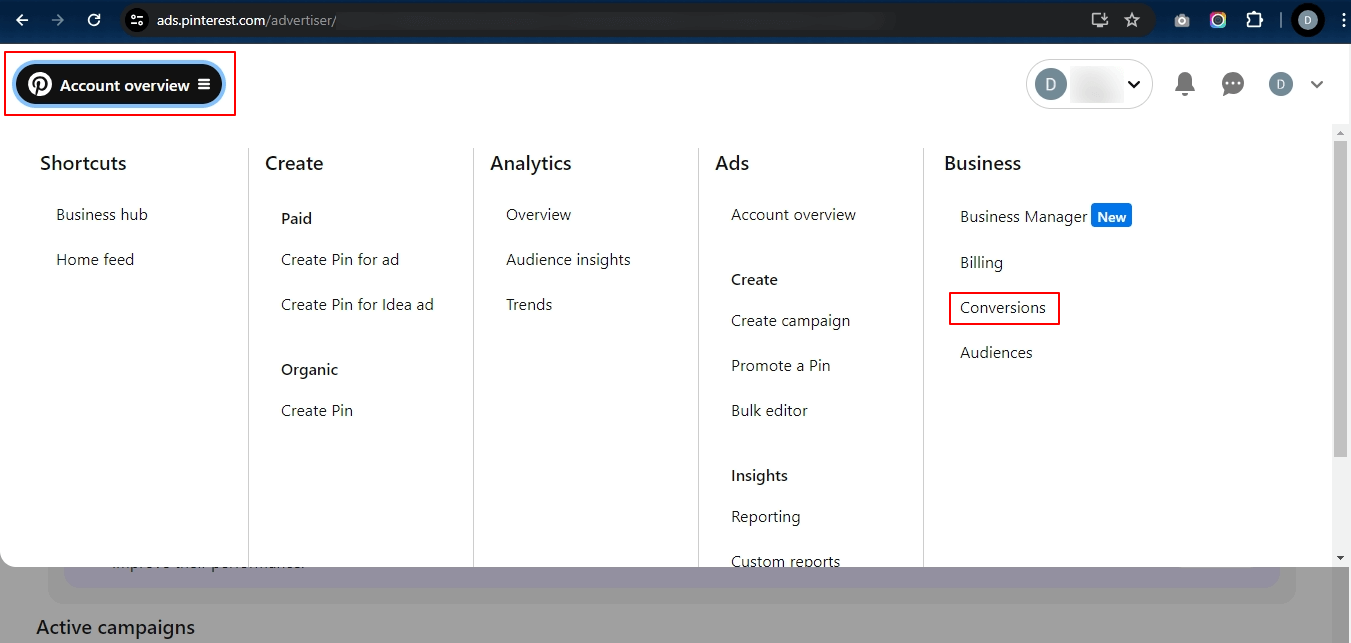
Step-1: Follow the path: Login to your Pinterest Business Account > Click on the “Account Overview” option > Click on the “Conversions” option.
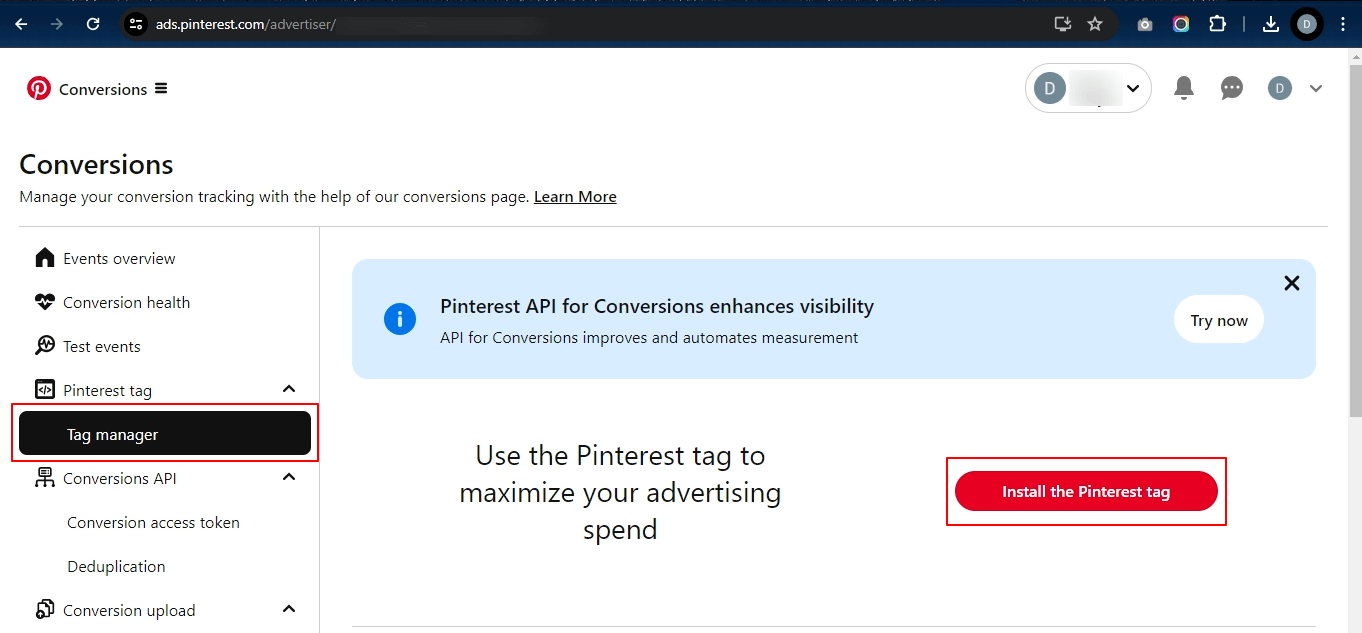
Step 2: Once you click “Conversions”, select the Tag Manager option from the left-hand side menu. Now, click on the Install the Pinterest Tag option.
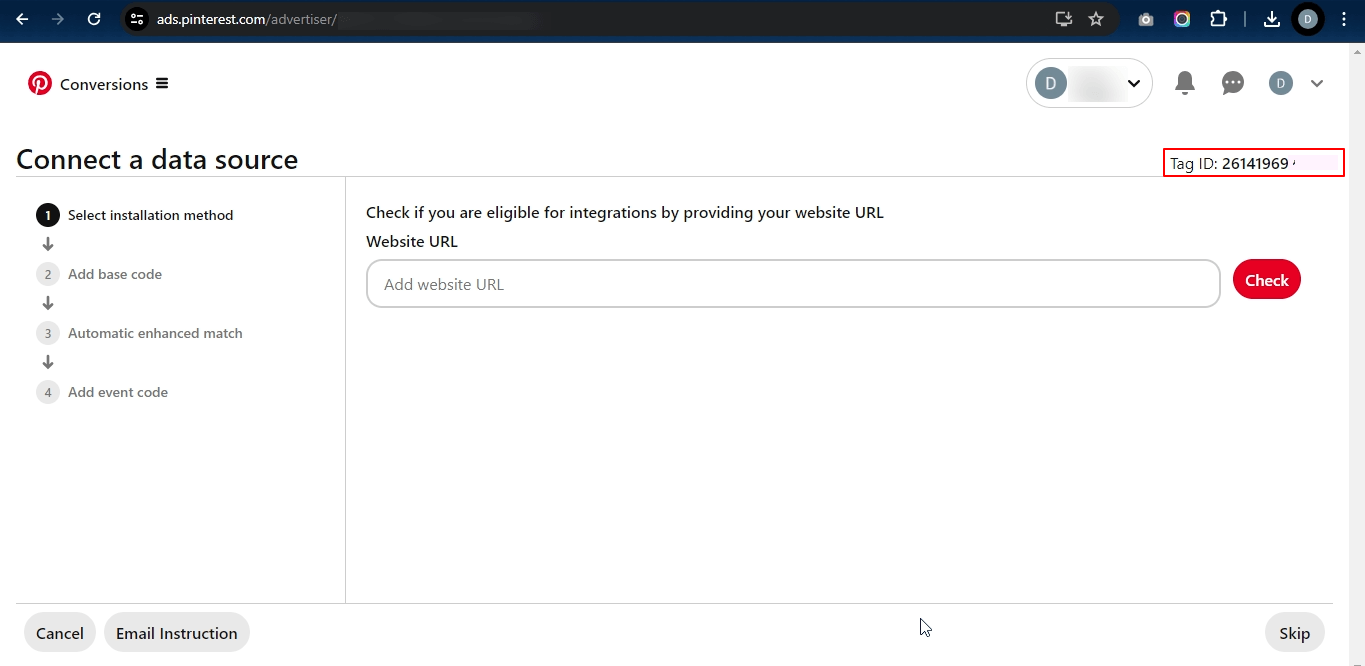
Step 3: Once you click the Install button, it will redirect you to the data source page. You can now find your Pinterest Pixel ID on the top-right corner as shown in the image below. Copy the ID which you will be integrating into the Conversios plugin.
Step-4: For the next step, log in to your WordPress backend and navigate the path as Conversios > Pixels & Analytics > Click on the “Pinterest Pixel” option under “Integrations “ as shown in the image below.
Step 5: Enter your copied Pinterest pixel ID and click on the Save button to make sure that all the settings are saved.
Note: The additional options displayed on this screen will be available with the paid version only.
Congratulation! 🎉
You have now successfully integrated your Pinterest Pixel ID into your Conversios Plugin!