Our plugin by default adds our GTM to your eCommerce store. This we do to ensure your tracking is in place if you do not have a GTM container.
If you want to use your GTM, it is certainly possible, and I would request that you follow either of the below approach
- Automatic
- Manual
Automatic setup #
Let’s first see how we can set it up using the automatic method
Note – while using the automatic setup the plugin will automatically add the necessary tags and variables to your container.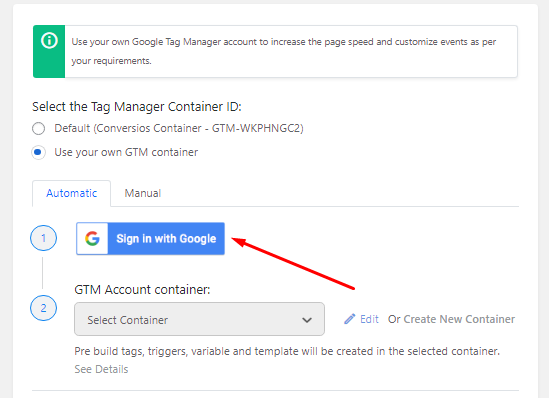
To automatically integrate the Google Tag Manager, sign in with the Google account with access to the GTM account you wish to integrate.
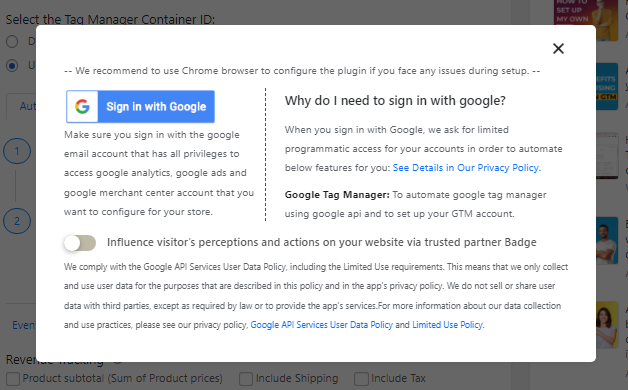
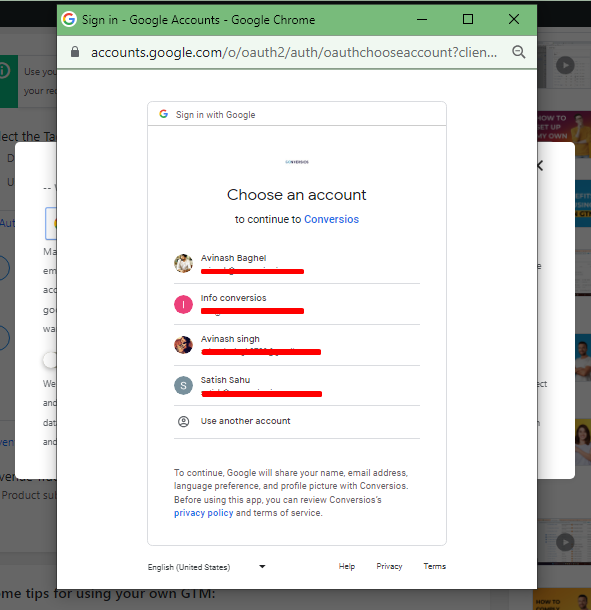
You will see a pop-up window similar to the one below; be sure to sign in using a Google account that has admin access to GTM:
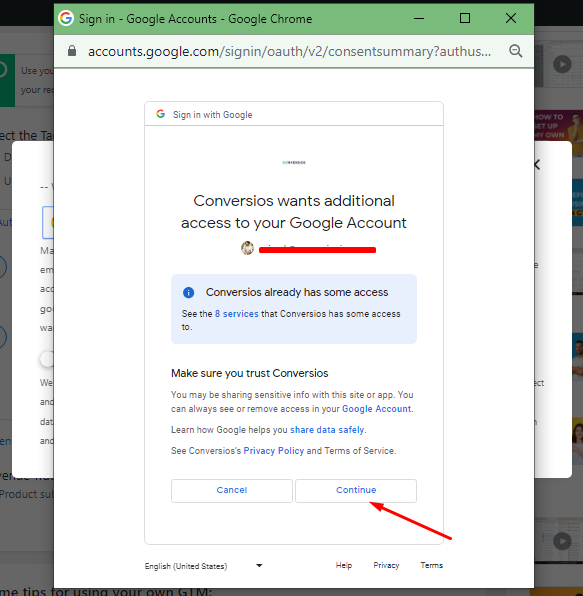
In the process of login, you will be asked to provide additional access to your Google Account, click on “Continue” to proceed.
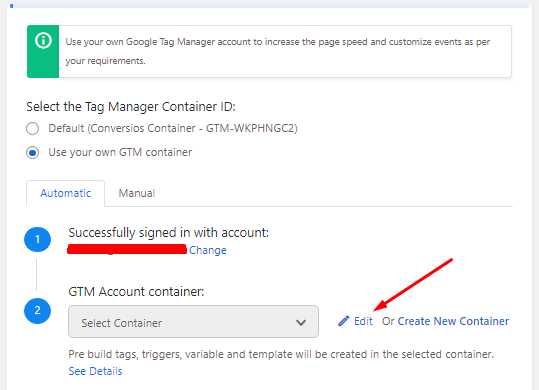
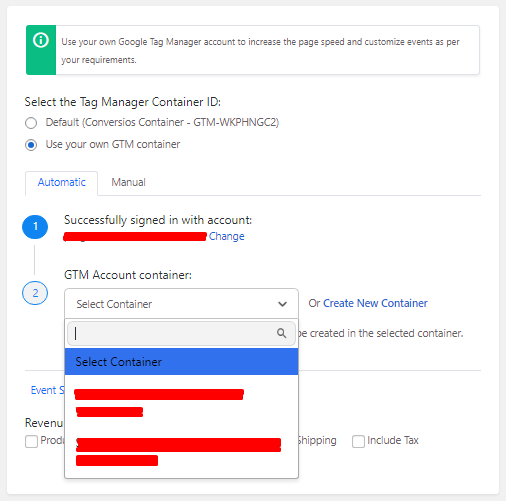
Step 2: Set up a GTM Container, here, click on “Edit” to select from the existing containers in the drop-down or create a new one.
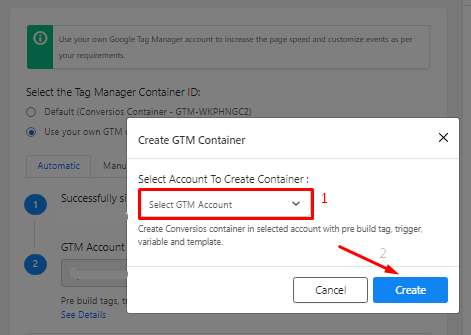
Let’s set up a new container, and click Create a new Container.
Here, you need to select the GTM Account from the drop-down, add a Container Name, and click on Create
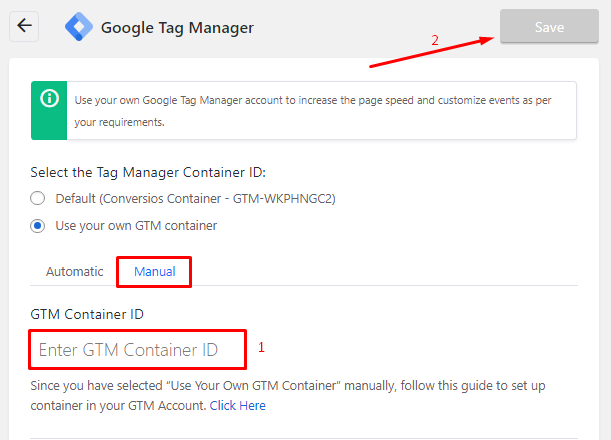
Manual Setup #
By choosing Manual setup you will be able to see the below screen, where you will have to add your GTM container and click on save.
As you have selected “Use Your Own GTM Container” manually, follow this guide to set up a container in your GTM Account. Click Here
Following the above steps will configure the plugin with your own GTM.
Need Help? Please reach out to us at [email protected] for any technical help or support [OR] You can set up a call with our expert for a quick product walkthrough.


