Do you use Facebook Pixel or other tracking pixels on your Shopify store?
If not, would you be interested in tracking user activity and optimizing your Facebook ads with Meta Pixel?
It’s an excellent way of discovering more about your target audience and enhancing the performance of your Ads.
Meta Pixel ( Formerly Facebook Pixel) is vital for businesses for advertising. But, many Shopify owners find it difficult to integrate Meta Pixel into their Shopify website.
We know! And that’s why we are here to help you install Meta Pixel to your Shopify store with our step-by-step guide.
Let’s have a quick look at Meta Pixel (formerly Facebook Pixel) before we proceed to the installation part.
What Is Meta (Facebook) Pixel?
The Meta pixel is the piece of code that allows you to track your website visitors’ activities. It helps Facebook & Instagram identify how users interact with your website content.
The information can further be used by Shopify store owners to target people who have already shown interest in your products to show them personalized ads.
With Meta Pixel, you can:
- Track user behavior after they see or interact with your ad
- Target new customers that have common interests as your actual customers
- Retarget the customers by advertising your product
Standard Events You Can Track With Meta ( Facebook) Pixel
Check out some of the standard events you can track with Meta Pixels
View Content
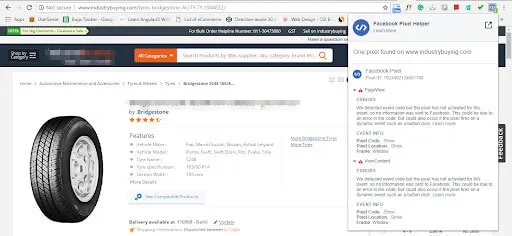
This event tracks each time a visitor to your website views a particular piece of content, such as a blog post or a product page. You can track your specific blog to understand what kind of content your audience is liking.
Add to cart
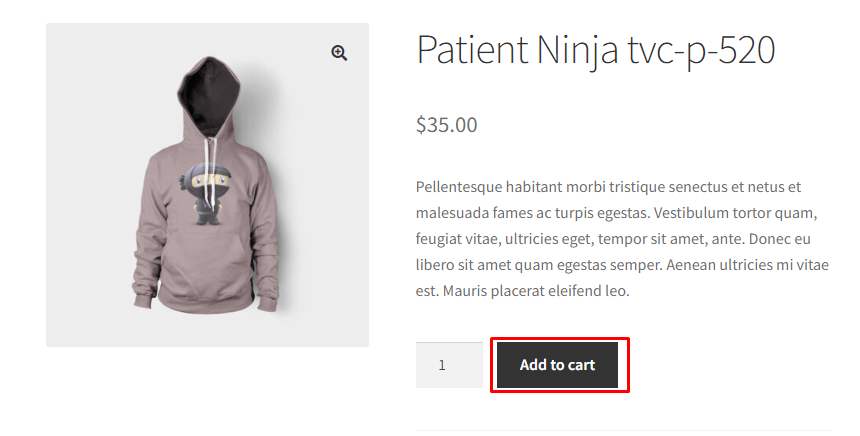
This event tracks when a user picks a product and adds it to the cart. It is helpful for determining the number of customers who are thinking about buying your items.
Add payment info
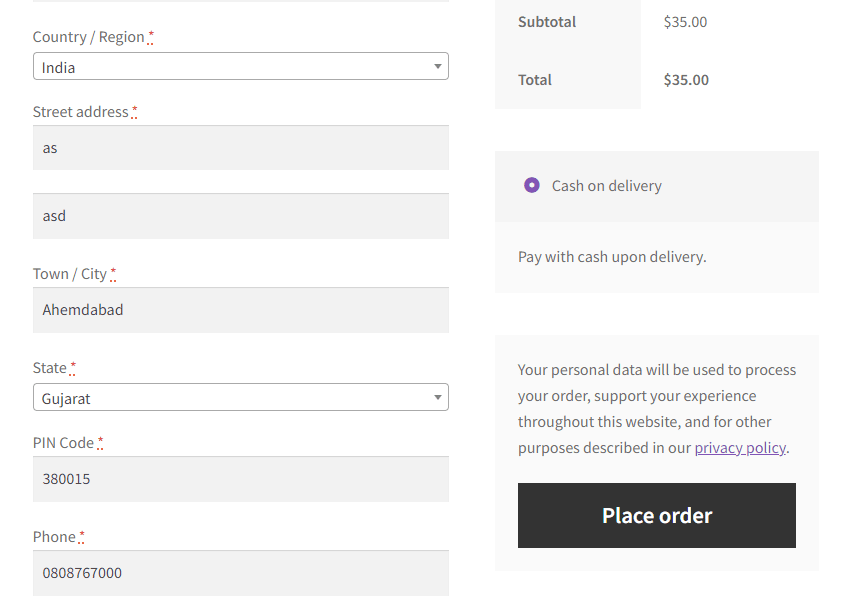
This event tracks when a user enters their payment info during checkout. This event is helpful for measuring the number of potential customers. You can retarget these customers with the help of dynamic retargeting ads as they are the ones most likely to convert.
Purchase
This event tracks a user’s successful completion of their purchase on your website. This event is for tracking your ROI and conversions.
Registration Form
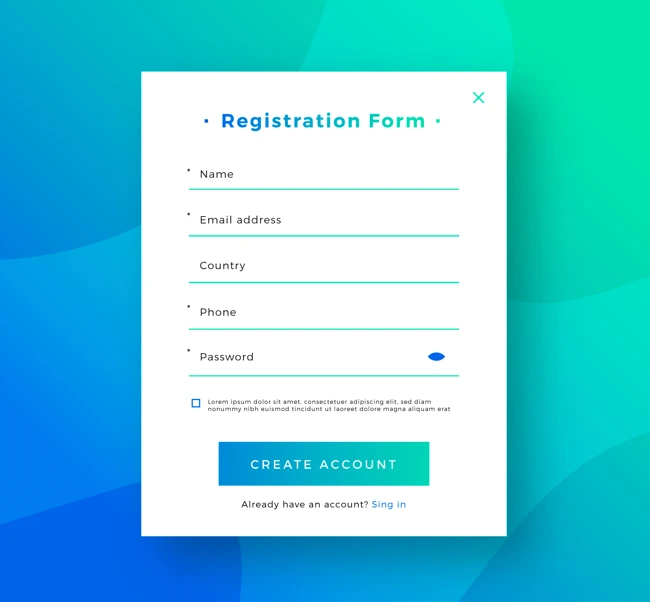
This event tracks when a user completes a registration form on your website. This event is useful for determining how many people are interested in the business enough to register or fill out a form.
Let me break it down for you – the benefits are multi-‘pleasing’.
Benefits Of Meta Pixel For Shopify Store
Let’s look at why Meta Pixel is necessary for your Shopify store now that it has been described.
Retargeting with dynamic product ads: Meta Pixel will collect information from visitors who have clicked on items and even added them to their shopping cart but did not finish the transaction.
You can run dynamic product ads that display these people the exact same items they left in their abandoned carts in order to get them to return and finish the transaction.
Custom audience segmentation: Meta pixel helps you create a custom audience, so you can run personalized ads for a custom audience. For example, if you have a custom audience for the ‘Summer sale’ then you can run retargeting ads for those customers and encourage them to make a purchase from your store.
Optimize Ad campaigns: The data collected by the Meta pixel can assist you in delivering advertising to audiences that are likely to engage with and convert to your items.
It will show your adverts to individuals who are more likely to do desired activities, like completing a purchase or signing up for a subscription.
Improved knowledge of consumer behavior: By precisely tracking your data, you may acquire insights into your customers’ behavior, which can help you make data-driven decisions to enhance the operation of your Shopify store.
Increased conversion rates: By studying your consumers’ behavior and adjusting your advertising efforts, you may boost the conversion rates of your store, resulting in more income.
Steps To Setup Meta Pixel For Your Shopify Store
We’ve already discussed the basics and benefits of Meta Pixels for your Shopify store. Now, let’s look at how to install Meta Pixel on your Shopify store
Create A Facebook Ad Account
While preparing chocolate pudding, you must ensure that you have the most important ingredient on hand (chocolate).
The same is true for Meta Pixels. You must first create a Facebook Ads account.
If you already have an account, you’re good to go. Nevertheless, if you don’t have an FB ad account, see How to Create an Account.
Go to Facebook Business Manager & click on ‘Create an account’.
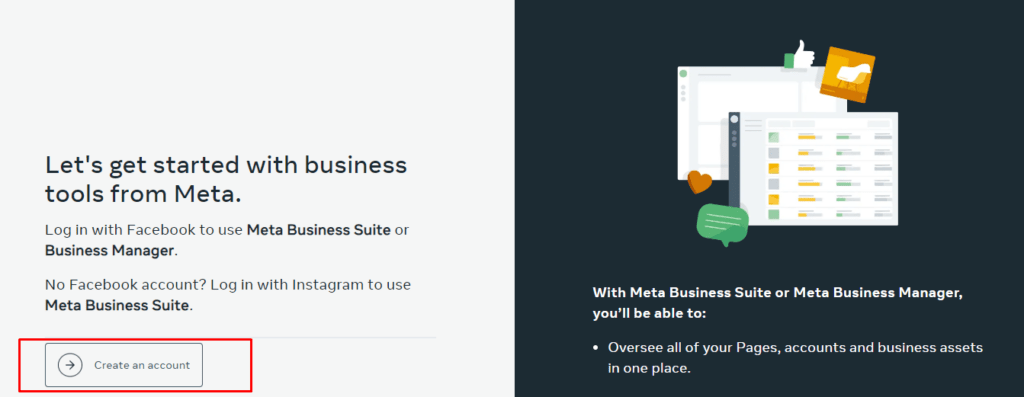
Once you click on “Create an Account”, you’ll see a screen like this. You need to enter a few details of your business such as your Business name, your name & email address associated with your business.
Click on ‘Submit’ to continue.
Hooray…… you have successfully created your Facebook Ads account.
Now, move forward to the next step.
Create FB Pixel
The next step is to create your FB pixel. Stay on as Business Manager.
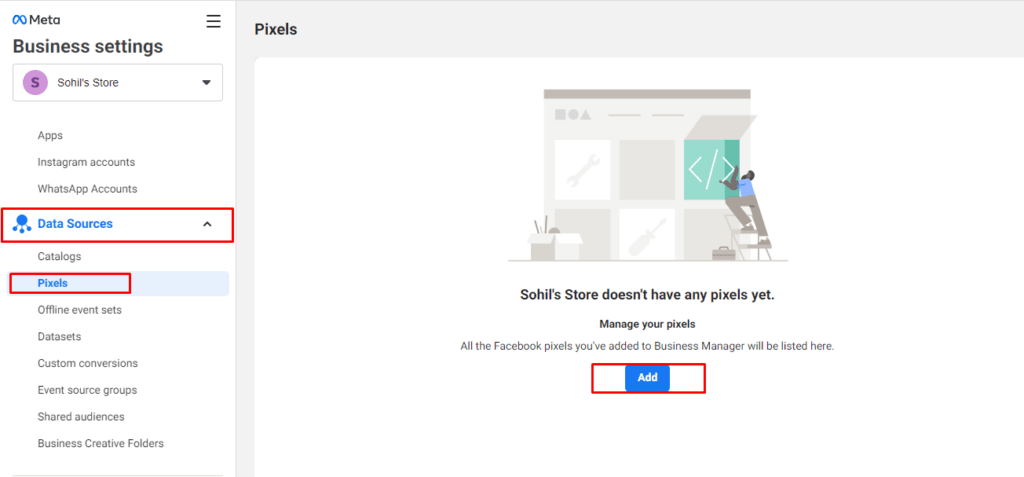
Go to settings > go for business settings.
Dropdown to ‘Data source’
Choose ‘Pixels’ from the Data source
You’ll get a tab of ‘Add’ on the screen; click to continue.
Add pixel name & website URL
Click on Continue
As we need to add pixels in our Shopify store this is the last step of creating your FB pixel.
Go to ‘Set up the pixel now’
Once you’ve created your Facebook pixel account, you can discover FB Pixel ID in a few clicks here:
- Navigate to your Event Manager.
- Choose your Business Account.
- Select your Facebook pixel ID under Data Sources.
Add Your Pixel ID to Shopify
To add your pixel ID to Shopify, click the first option as shown in the screenshot.
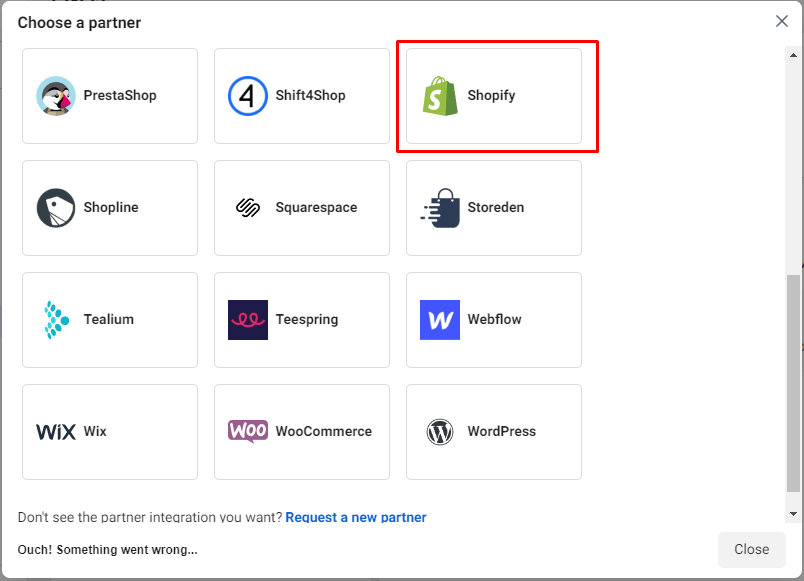
You’ll get an interface where you need to choose your partner. Click on ‘Shopify’
Once you are done with this step, come back to the Facebook account.
Tick the box of ‘I’ve completed the setup on Shopify’ & click on ‘Next’
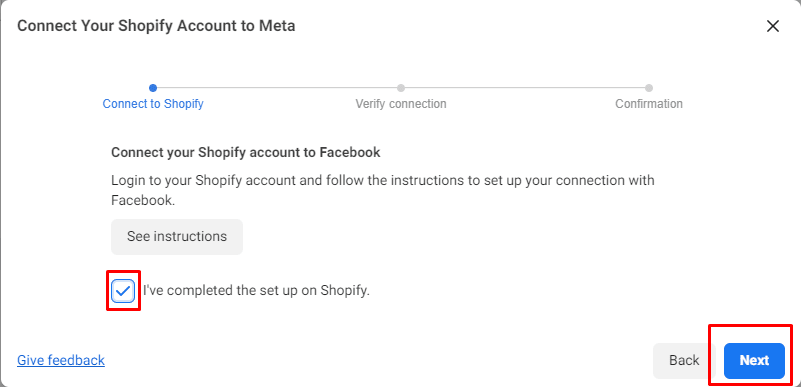
You did all the steps right- your pixel ID is now added to your Shopify website.
Now- you need to check whether it is working.
Check your FB pixels status on FB
This is the last step to finish your setup of Meta Pixel ( Formerly Facebook Pixel) for your Shopify store.
You’ll see a page like this
If everything is in place correctly- you’ll see an ‘Active’ status.
After that, you’ll see a screen consisting of Create Ads, Facebook Analytics & Test Events.
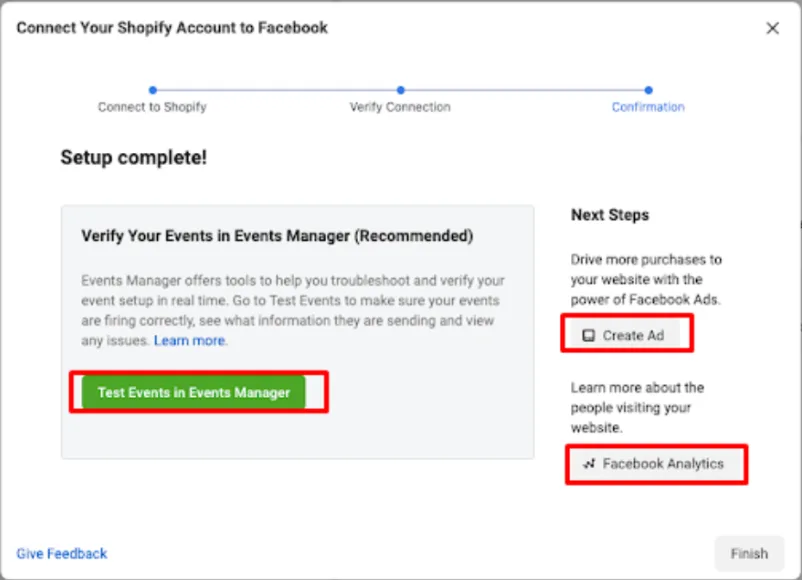
You are now ready to track your Ecommerce events to learn more about your users’ behavior and how to adjust your advertising efforts accordingly.
How To Integrate Meta Pixel For Shopify Stores With Conversios
The Conversios All-In-One Pixel Shopify app automates the data layer for Ecommerce events and conversion tracking for Meta Pixel, Google Analytics, GA4, and other marketing Pixels.
We offer one-click integration of Meta Pixel ( Formerly Facebook Pixel) with your Shopify store. It means you can save time & it doesn’t affect the side speed at all.
It’s like killing two birds with one arrow.
Conversios All-in-one pixel app allows you to integrate with additional marketing pixels such as Microsoft Ads Pixel, Tiktok Pixel, Snapchat Pixel, Twitter Pixel, Pinterest Pixel, and Google Analytics 4 tracking code.
- Meta Pixel: A tracking code used by both Facebook & Instagram to track user behavior on websites and create custom audiences to show them related ads.
- Microsoft Ads (Bing) Pixel: It tracks website conversion, and develops an audience list based on user activity to retarget audiences with personalized Ads on the Bing platform.
- Twitter Pixel: Allows marketers to track user activity and assess the performance of Twitter ad campaigns.
- Pinterest Pixel: Monitors website user behavior and gives data for building customized Pinterest ads.
- Snapchat Pixel: Helps advertisers track user behavior and measure the effectiveness of ad campaigns on Snapchat.
- TikTok Pixel: Monitors user behavior on a website and offers data for TikTok to create targeted ads.
Installation Steps Of Conversios- All-in-one Pixels
If you want to enable one-click integration of pixels into your Shopify store, follow these steps.
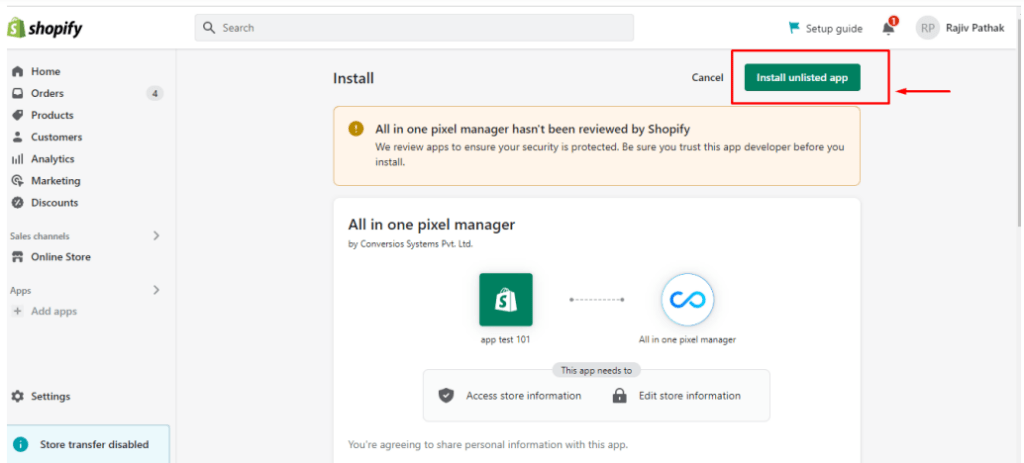
Step: 1
Log in to your Shopify store > Search ‘ Conversios- All-in-one pixel app’ > Click on ‘Install the App’
Before going into the next step; understand that this app uses Google Tag Manager (GTM) Integration to track events on various social media platforms.
Step: 2
You can use your own GTM Container or use the Conversios container ( If you don’t have any container). This app uses Conversios GTM Container ( GTM-K7X94DG) by default. To use your own GTM, click here to learn more.
Step:3
Enter the ID of the platform you want to track events on. Here enter your Meta Pixel ID.
Click on ‘Save’
Step: 4
After clicking on the ‘save’ button; you’ll see a page like this.
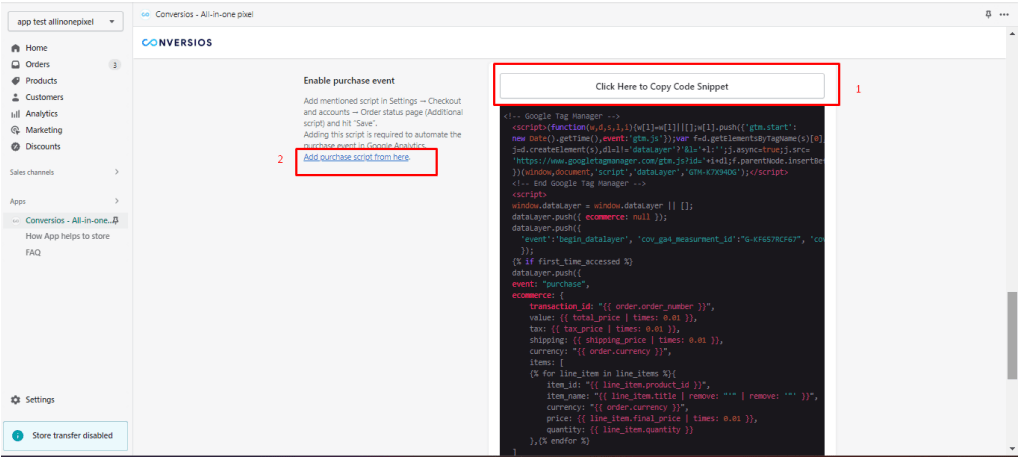
You’ll get a code snippet. You need to ‘Copy’ the code first & then click on ‘Add purchase script from here’.
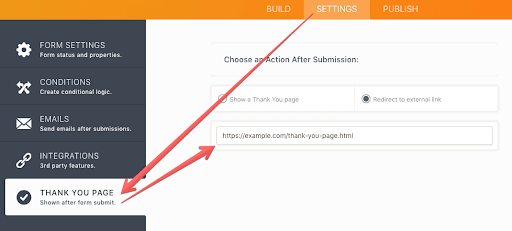
You navigate to a page, just scroll down & you will get an option of ‘Order Status Page’.
Now, paste the code you’ve copied from the previous page.
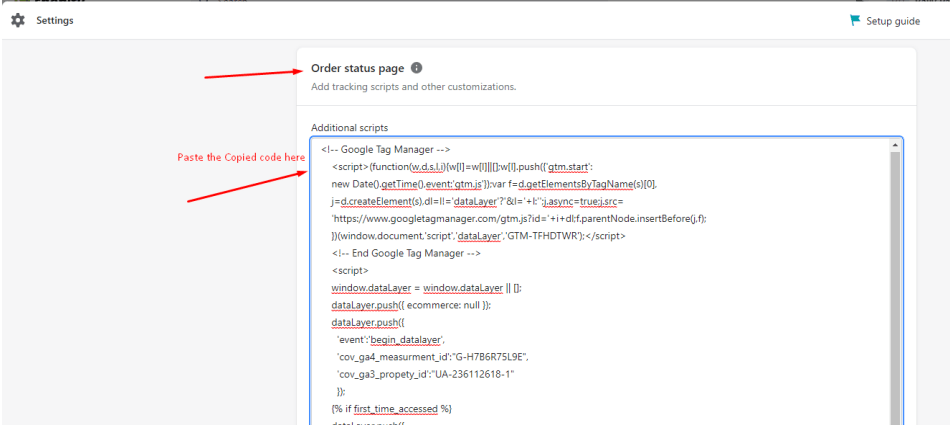
Click on “Save”
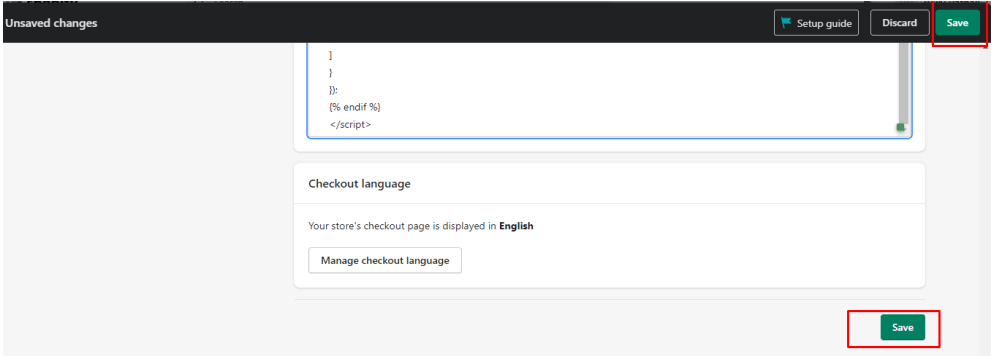
Heading toward the last step, you need to click on ‘Activate Block 1‘ and ‘Activate Block 2‘ one by one. Click on ‘save’ both times.
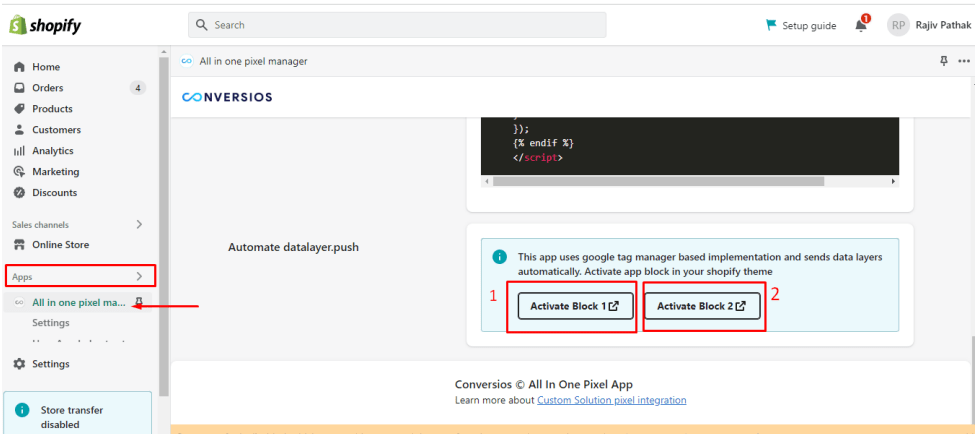
After you activate the first block, this screen will appear. You just have to click on ‘Save‘ and then activate the second block.
After activating the second block, this screen will appear as seen below. All you have to do is save this block and we are good to go.
YAY! All the Pixels have been set up in your Shopify store.
On The Whole
Installing a Meta pixel on your Shopify store can help you enhance your targeting, broaden your consumer base, and increase conversions.
Conversios All-in-one pixel app may be emphasized like a lotus blooming in the mud when it comes to time-saving, one-click integration, and important features. Installation is so easy as we outlined above.
So take the step ( of installing Meta pixel on your Shopify store) to ease your Ecommerce tracking.
If you have any questions or queries, connect with us at [email protected] today!
Frequently Asked Questions
Q. What is Meta Pixel and why is it important for Shopify stores?
Meta Pixel (formerly Facebook Pixel) is a tracking code that lets you monitor user actions on your store. It helps you measure ad performance, retarget visitors, and build custom audiences for better ad targeting on Facebook and Instagram.
Q. What events can I track with Meta Pixel on my Shopify store?
You can track events such as View Content, Add toCart, Add Payment Info, Purchase, and Registration. These help you understand user behavior and optimize your ads accordingly.
Q. How do I set up Meta Pixel on my Shopify store?
First, create a Facebook Ads account and generate your Pixel in the Events Manager. Then connect your Pixel ID via the Facebook setup wizard or use the Conversios All-in-One Pixel app for one-click GTM-based integration.
Q. What are the benefits of using Meta Pixel for advertising?
Meta Pixel enables dynamic retargeting, custom audience segmentation, better ad optimization, detailed customer behavior insights, and higher conversion rates.
Q. How does the Conversios app simplify Meta Pixel integration?
The Conversios All-in-One Pixel app allows you to install Meta Pixel with just a few clicks. It uses GTM containers, supports multiple ad platforms (TikTok, Microsoft Ads, Pinterest, etc.), and doesn’t affect site speed.
Q. Can I track multiple ad platforms with Conversios’ Pixel app?
Yes, the app supports Meta Pixel, TikTok Pixel, Snapchat Pixel, Twitter Pixel, Microsoft Ads Pixel, Pinterest Pixel, and Google Analytics—all from a single dashboard.