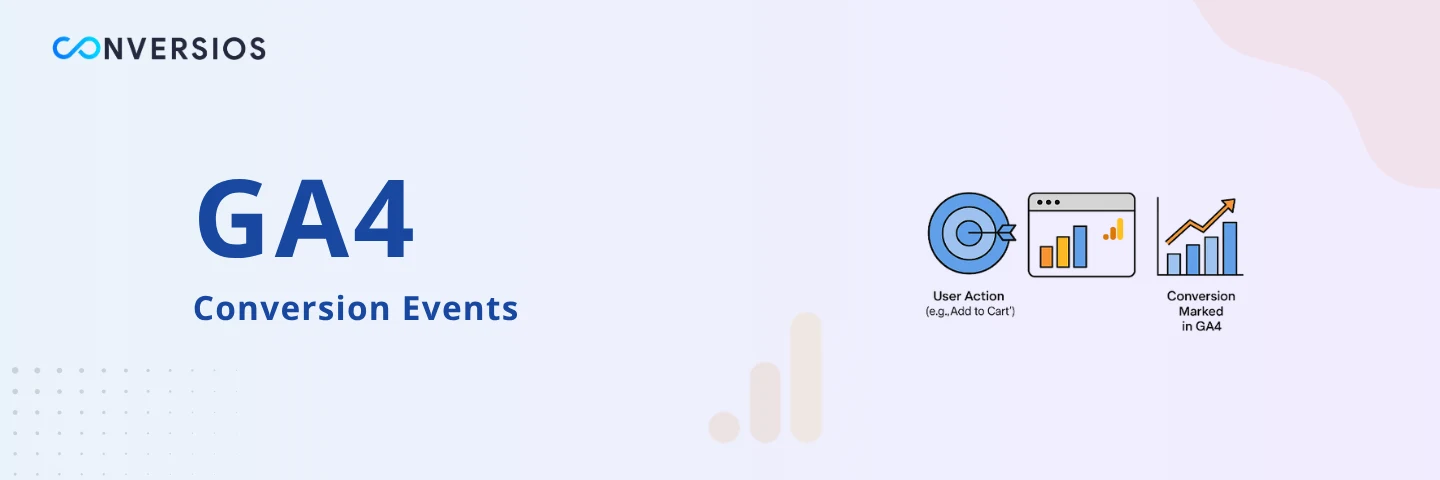
If you’re running marketing campaigns or optimizing sales funnels, accurate conversion tracking in GA4 is essential. Yet many businesses unknowingly report incomplete or inflated conversion data because their event configurations are either misfiring or missing critical parameters.
In this article, we’ll walk you through how to properly set up event-based conversion tracking in GA4 using best practices that prevent common issues, improve attribution accuracy, and support eCommerce use cases like Shopify and WooCommerce.
Why Accuracy Matters in Event-Based Conversion Tracking
Google Analytics 4 (GA4) tracks everything as events – page views, button clicks, purchases, form submissions, and more. While this gives you flexibility, it also increases the risk of inaccurate data if the events aren’t configured precisely.
The cost of poor configuration:
- Conversions don’t appear in reports
- Google Ads can’t optimize for real purchase data
- Revenue-based KPIs become misleading
- Marketing attribution breaks down
GA4 doesn’t rely on “goals” anymore, it relies on event-based logic. You decide which actions matter, and GA4 tracks them only if implemented correctly.
Recommended vs. Custom Events: Which Should You Use?
GA4 supports both recommended and custom event names:
| Type | Description | Examples |
| Recommended Events | Predefined by Google; support full reporting & ad integrations | purchase, add_to_cart, sign_up, generate_lead |
| Custom Events | User-defined events for unique goals | quiz_completed, trial_started, video_watched |
Best practice: Use Google’s recommended events whenever possible. Only create custom events when no standard name fits your action.
This ensures better integration with Google Ads and GA4’s built-in reports — especially for eCommerce platforms.
Step-by-Step Guide to Setting Up Conversion Events in GA4
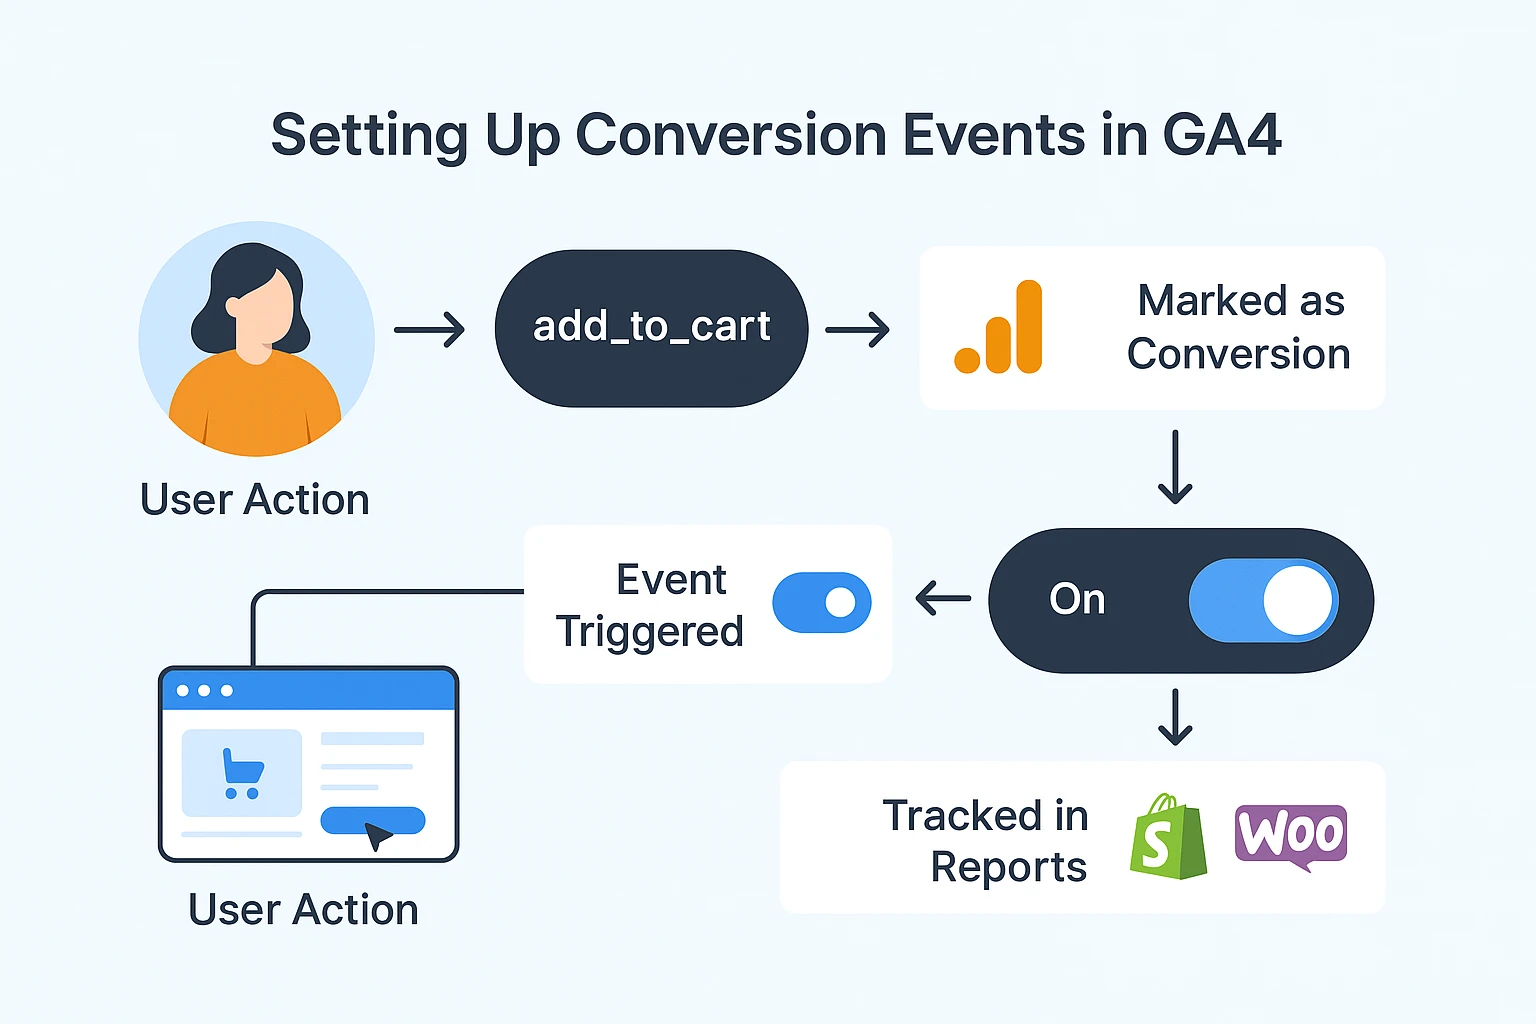
Step 1: Create or Identify the Event
Go to Admin → Events in your GA4 property.
If the event you want to track (e.g., purchase) already exists, you can skip to the next step. If not, you need to create it.
- For code-based setups, use gtag.js or Google Tag Manager:
javascript
CopyEdit
gtag('event', 'generate_lead', {
  method: 'contact_form',
  value: 0
});
- For Shopify or WooCommerce users, the Conversios plugin pre-configures events automatically, beyond what is typically captured via Enhanced Measurement in GA4
Step 2: Mark the Event as a Conversion
Once the event exists:
- Go to Admin → Events
- Locate your event in the list
- Toggle “Mark as Conversion” next to it
The event is now classified as a conversion.It will appear in your GA4 conversion reports and help platforms like Google Ads conversion tracking optimize for high-value users.
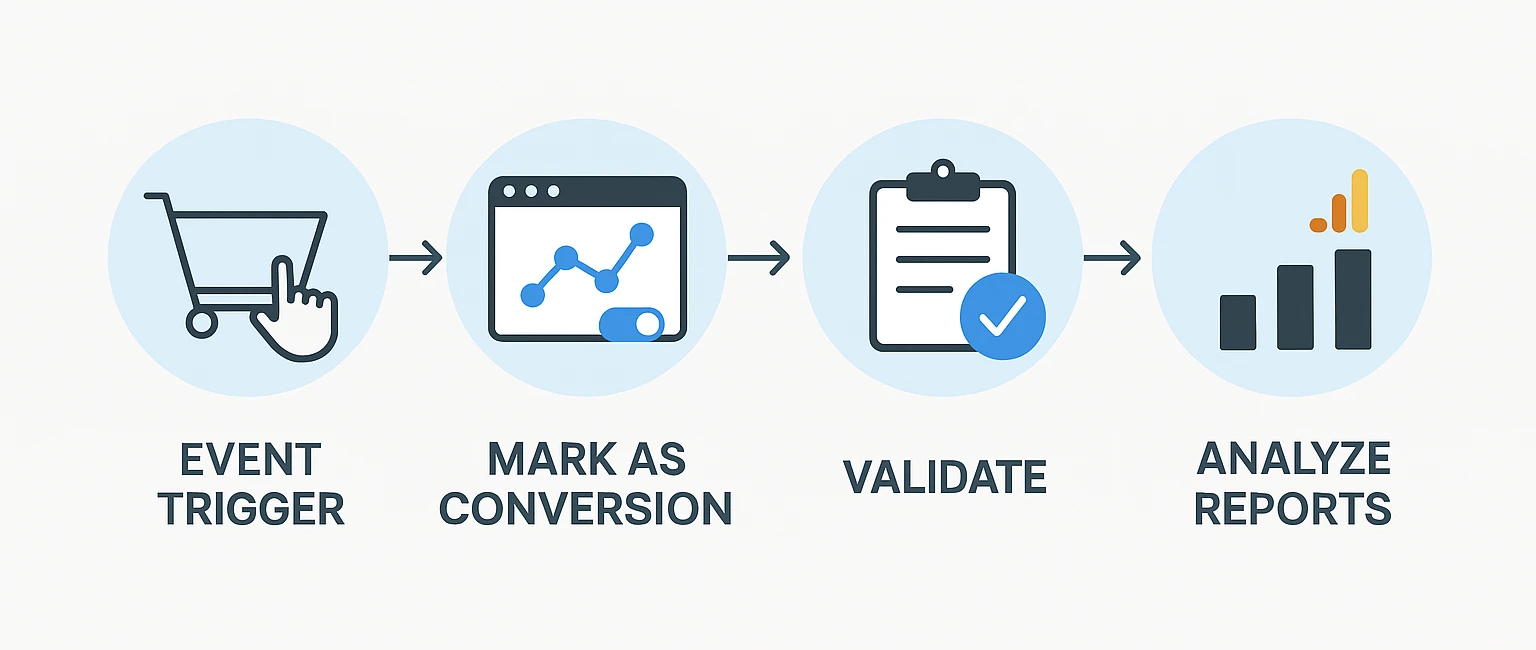
Step 3: Validate Event Firing and Parameters
Open DebugView or Realtime Reports in GA4:
- Trigger the event (e.g., complete a purchase or form submission)
- Confirm it fires under the correct name
- Check for required parameters:
- value (revenue)
- currency
- transaction_id (to avoid duplicate conversions)
- value (revenue)
Missing parameters can cause conversions to be tracked but not attributed to campaigns, leading to gaps in ROAS calculations and missing revenue in GA4
Common Tracking Mistakes to Avoid
Many marketers assume that “events firing” means conversions are working. That’s rarely the case.
Typical issues that break GA4 conversion tracking:
- Incorrect event name – using form_submit instead of generate_lead
- Missing purchase parameters – no value, currency, or transaction_id
- Duplicate firing – event triggered twice on one action (e.g., purchase)
- Wrong scope – firing events on page load instead of user action
Each of these can lead to misleading conversion counts, broken attribution, and ad optimization failures.
Use Conversios for Auto-Tracking in Shopify and WooCommerce
Setting up event tracking manually is time-consuming and error-prone.
With the Conversios GA4 Plugin:
- All eCommerce events (like add_to_cart, purchase, begin_checkout) are auto-tagged
- Events include correct GA4 parameters (value, currency, transaction ID)
- No Google Tag Manager or developer help is required
This ensures accurate, scalable tracking from day one, especially for online stores using Google Ads remarketing or conversion bidding.
Use Case: GA4 Event Setup for eCommerce Conversions
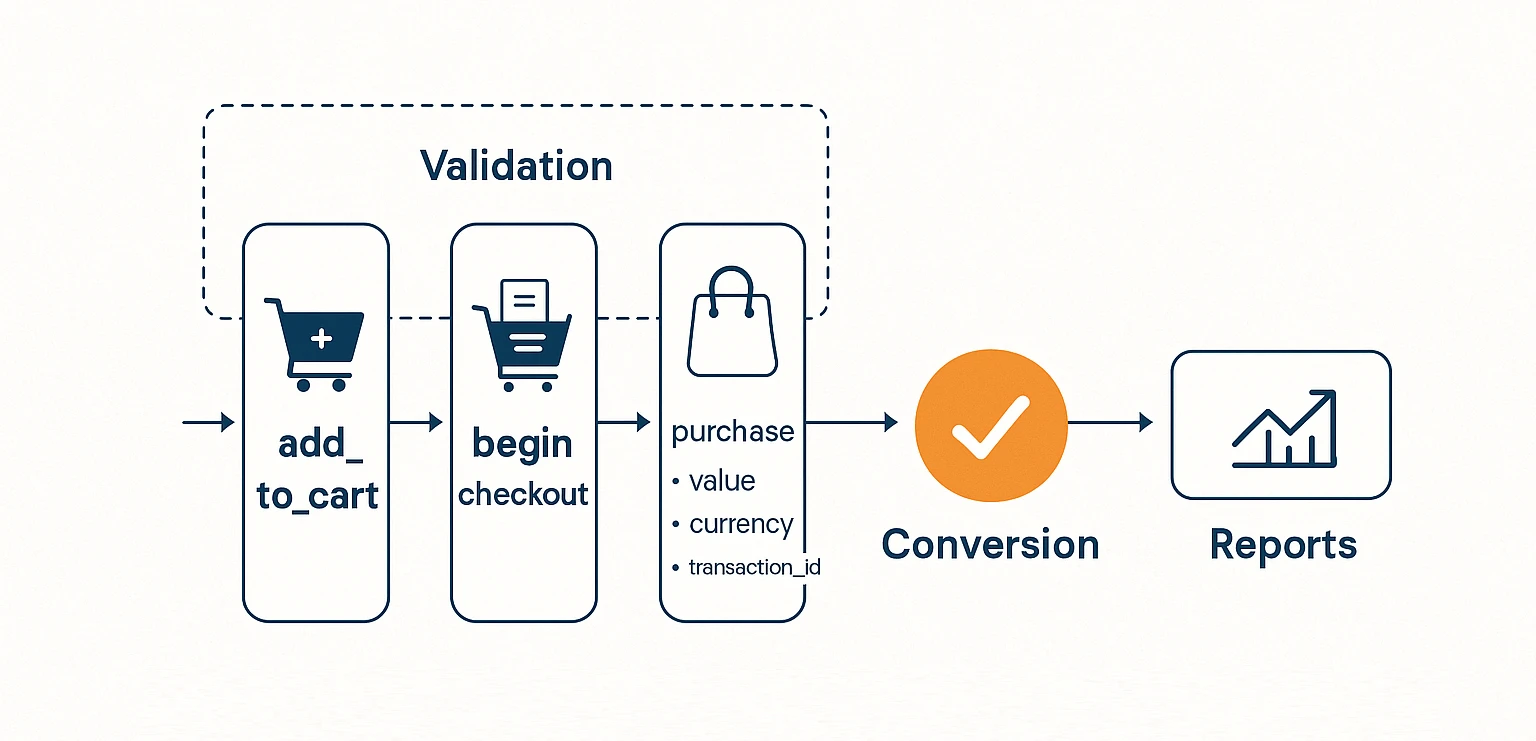
Scenario: You run a WooCommerce store selling apparel.
Your event setup should include:
- add_to_cart: fires when a product is added to cart
- begin_checkout: fires at checkout start
- purchase: fires on thank-you page with parameters:
- value: total order amount
- currency: e.g., USD
- transaction_id: order ID
- value: total order amount
By marking purchase as a conversion in GA4, you’ll get complete revenue attribution across your marketing funnel, especially if you’re using a solution like Google Tag Gateway to serve GA4 tags from your own domain.
Final Thoughts
Event-based tracking in GA4 gives marketers more power, but only if implemented precisely. Poorly configured events can lead to inaccurate ROAS, broken funnel attribution, and confusion in how your GA4 attribution models interpret user behavior across channels.
Whether you track manually or use tools like Conversios, your conversion data is only as good as your event setup. Prioritize clarity, parameter accuracy, and testing to ensure your GA4 account reflects the truth of your business performance.
Frequently Asked Questions
Q. How can I verify my conversion setup works?
Use DebugView in GA4. It shows live events and whether your conversion was successfully logged with required parameters.
Q. Can I track different conversions for different goals?
Yes. You can track and mark multiple events as conversions e.g., purchase, generate_lead, and sign_up.
Q. How is GA4 conversion tracking different from Universal Analytics goals?
In GA4, any event can be marked as a conversion; there’s no separate goal system. This is more flexible but also more reliant on event configuration accuracy.