
If you’ve already explored what dynamic remarketing is and how it helps recover lost sales, the next step is setting it up.
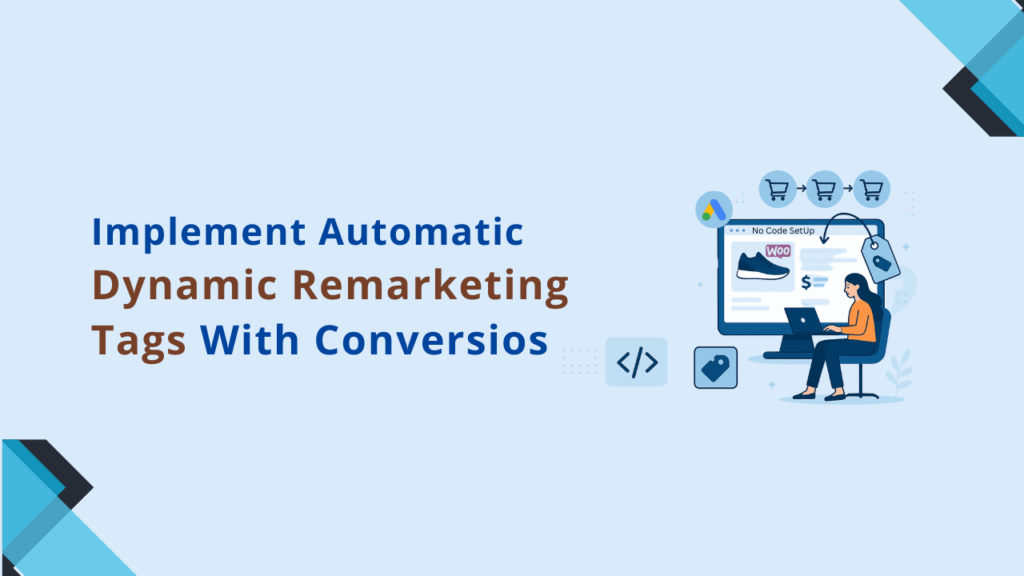
In this guide, we’ll walk you through how to implement dynamic remarketing tags in WooCommerce using the Conversios plugin — with no technical skills required. You’ll track the right events, sync product data, and start retargeting high-intent shoppers automatically.
What You’ll Need
Before you begin:
- A live WooCommerce store
- Google Ads + Google Merchant Center accounts
- Conversios plugin installed
- Approved product feed (can be synced via Conversios)
Step-by-Step: Setting Up Dynamic Remarketing in Conversios
1. Connect Your Google Ads Account
- Navigate to Conversios → Pixel & Analytics
- Sign in with your Google account
- Select the Google Ads account you want to link
- If you’re a new advertiser, create a new Google Ads account through Conversios to become eligible for up to $500 in Google Ads credit
- Follow the on-screen instructions to activate the offer
2. Enable Marketing & Remarketing Tags
- Scroll to Audience Building
- Enable “Marketing tags” to start tracking visitors
- Underneath, toggle “Enable dynamic remarketing tags”
3. Choose Events to Track (Free + Pro)
In the dynamic remarketing section, Conversios tracks:
| Event | Description |
| View_Item | Tracks product views ( Free) |
| Add_to_Cart | Tracks cart activity (🔒 Pro) |
| Begin_Checkout | Tracks checkout starts (🔒 Pro) |
| Purchase | Tracks completed orders (🔒 Pro) |
Only “View_Item” is available in the free version. Upgrade for full-funnel tracking.
4. Add Conversion Events (Optional but Recommended)
In the “Measure Campaign Conversion” section, click Add to enable:
- Purchase (WooCommerce)
- Form Submit
Enhanced conversions (Pro) - Add to Cart / Checkout (Pro)
5. Test Your Setup
- Use the Tag Assistant Companion (Chrome extension)
- Browse your site and simulate actions
- Check that view_item, add_to_cart, and purchase events are firing correctly
- Visit Google Ads → Tools → Audience Manager to verify audience list growth
Pro Tips to Boost Performance
- Launch Performance Max campaigns using synced audiences
- Use Enhanced Conversions to improve match quality (Pro)
- Exclude recent converters to avoid waste
- Run A/B tests for creative and messaging optimization
Frequently Asked Questions
Q. Do I need to use Google Tag Manager to implement dynamic remarketing with Conversios?
No. Conversios tracks all relevant events directly through the plugin, so you don’t need to set up Google Tag Manager separately.
Q. Can I customize the events being tracked for dynamic remarketing?
Yes. Conversios Pro users can customize event mapping to fit advanced tracking and retargeting requirements.
Q. How soon will audience lists start appearing in Google Ads after setup?
Typically, audience lists start populating within 24–48 hours after completing your dynamic remarketing setup.